
Burda Style 6602
A long sleeve tee in a brushed polyester/spandex knit.
Burda Style 6602 is an “super easy” pattern that offers four shirt different styles. I chose to make the A style with the breast pocket from the B style. The techniques involved in this project: basting the neckband, transferring pattern markings, using a twin needle, and following the fabric’s grain line.
This project was my first intentional knit garment. While I practiced making some basic knit pieces from my own clothes and free patterns, this shirt pattern and fabric were selected for my boyfriend. In addition to this being the first knit garment this was also the first knit garment I made for someone else. This project presented a bunch of other firsts too:
First time using a commercial, store bought pattern
I want to learn more about garment construction as well as grading and altering patterns and knew that following professionally made patterns was a crucial step to familiarizing myself with the symbols and terminology included. I picked up a couple of “Super Easy” patterns from Burda that happened to be on sale.
First time tracing a pattern
I was working from the largest size on the pattern so wondered if it was necessary to trace the pattern onto separate paper. Upon closer look, the largest size contained all of the other sizes, except for the front shoulders. In order to preserve the cut lines for the other sizes, I traced the front piece onto paper. I also traced the back piece (which was unnecessary in hindsight) as well as the shoulder piece. There are so many great posts and videos with methods for how to transfer patterns. I still don’t know exactly how to do this well, so I will try different approaches to see which way works best for me. One helpful tip I read is that it is ok to iron patterns on the lowest setting with no steam to smooth out the wrinkles.
First time using tailor’s tacks to transfer markings
This pattern required the fabric to be marked in two different areas: the pocket placement on the left, front side of the shirt and to line up the sleeves and the shoulder. It was hard to mark my fabric with chalk or an erasable pen, so I used thread to transfer the markings on the sleeve and front piece. I pushed directly through the paper and fabric layers and then gently maneuvered the need to back up where I could tie it off. At first, I tried to make longer markers, kind of like basting stitches but then had a really hard time figuring out how to remove the paper. It turns out small stitches, also known as tailor tacks, work well and I actually like that they are more stable than pins or chalk. When it came to sewing, it was so nice to look at the markings I made and know for certain I was matching the correct sleeve and armhole.
First time installing a neck band
Had a lot of trouble with this part. The instructions recommended I “baste” the neck band, so I used my vague understanding of this technique to loosely attach the band to the body. I panicked when my neckband end did not meet up with the other side. This video in particular - Lauren’s Top Tips - Inserting Jersey neckbands - helped me to understand that the neckband should be smaller than the neck hole so that it lays nicely without gaping. This video also convinced me to try the “loop” method, where you close the neckband first and hold it in place evenly around the neck hole. I actually practiced this method twice, because I was unhappy with how I attached the neckband in the first place. I would like to keep practicing the “loop method” for attaching neck bands but also want to try constructing them as a flat piece of folded fabric.
First time using a twin needle
I was incredibly lucky that my mom’s old sewing machine came with twin needles. Knowing that my new machine makes zig-zag stitches can accommodate a second spool, I assumed that I could use them without a problem. I also assumed that one set were sharp needles and the other was ballpoint, as that the one “that looked less point” had to be a ballpoint for sure. I will definitely get new twin needles but overall, my first time using a twin needle worked well. I also tried using Eloflex thread, which isn’t necessary to sew basic knits but I figured that I would take all of the additional help and flexibility as I could.
First time reinforcing the shoulders.
One of the best practices I learned about when I was doing a bit of research was that it’s a good idea to reinforce the shoulder seams to prevent the weight of the garment from distorting the seams. I used fusible tape with a bit of stretchy, but clear elastic and even the selvedge edge of fabric can be used.
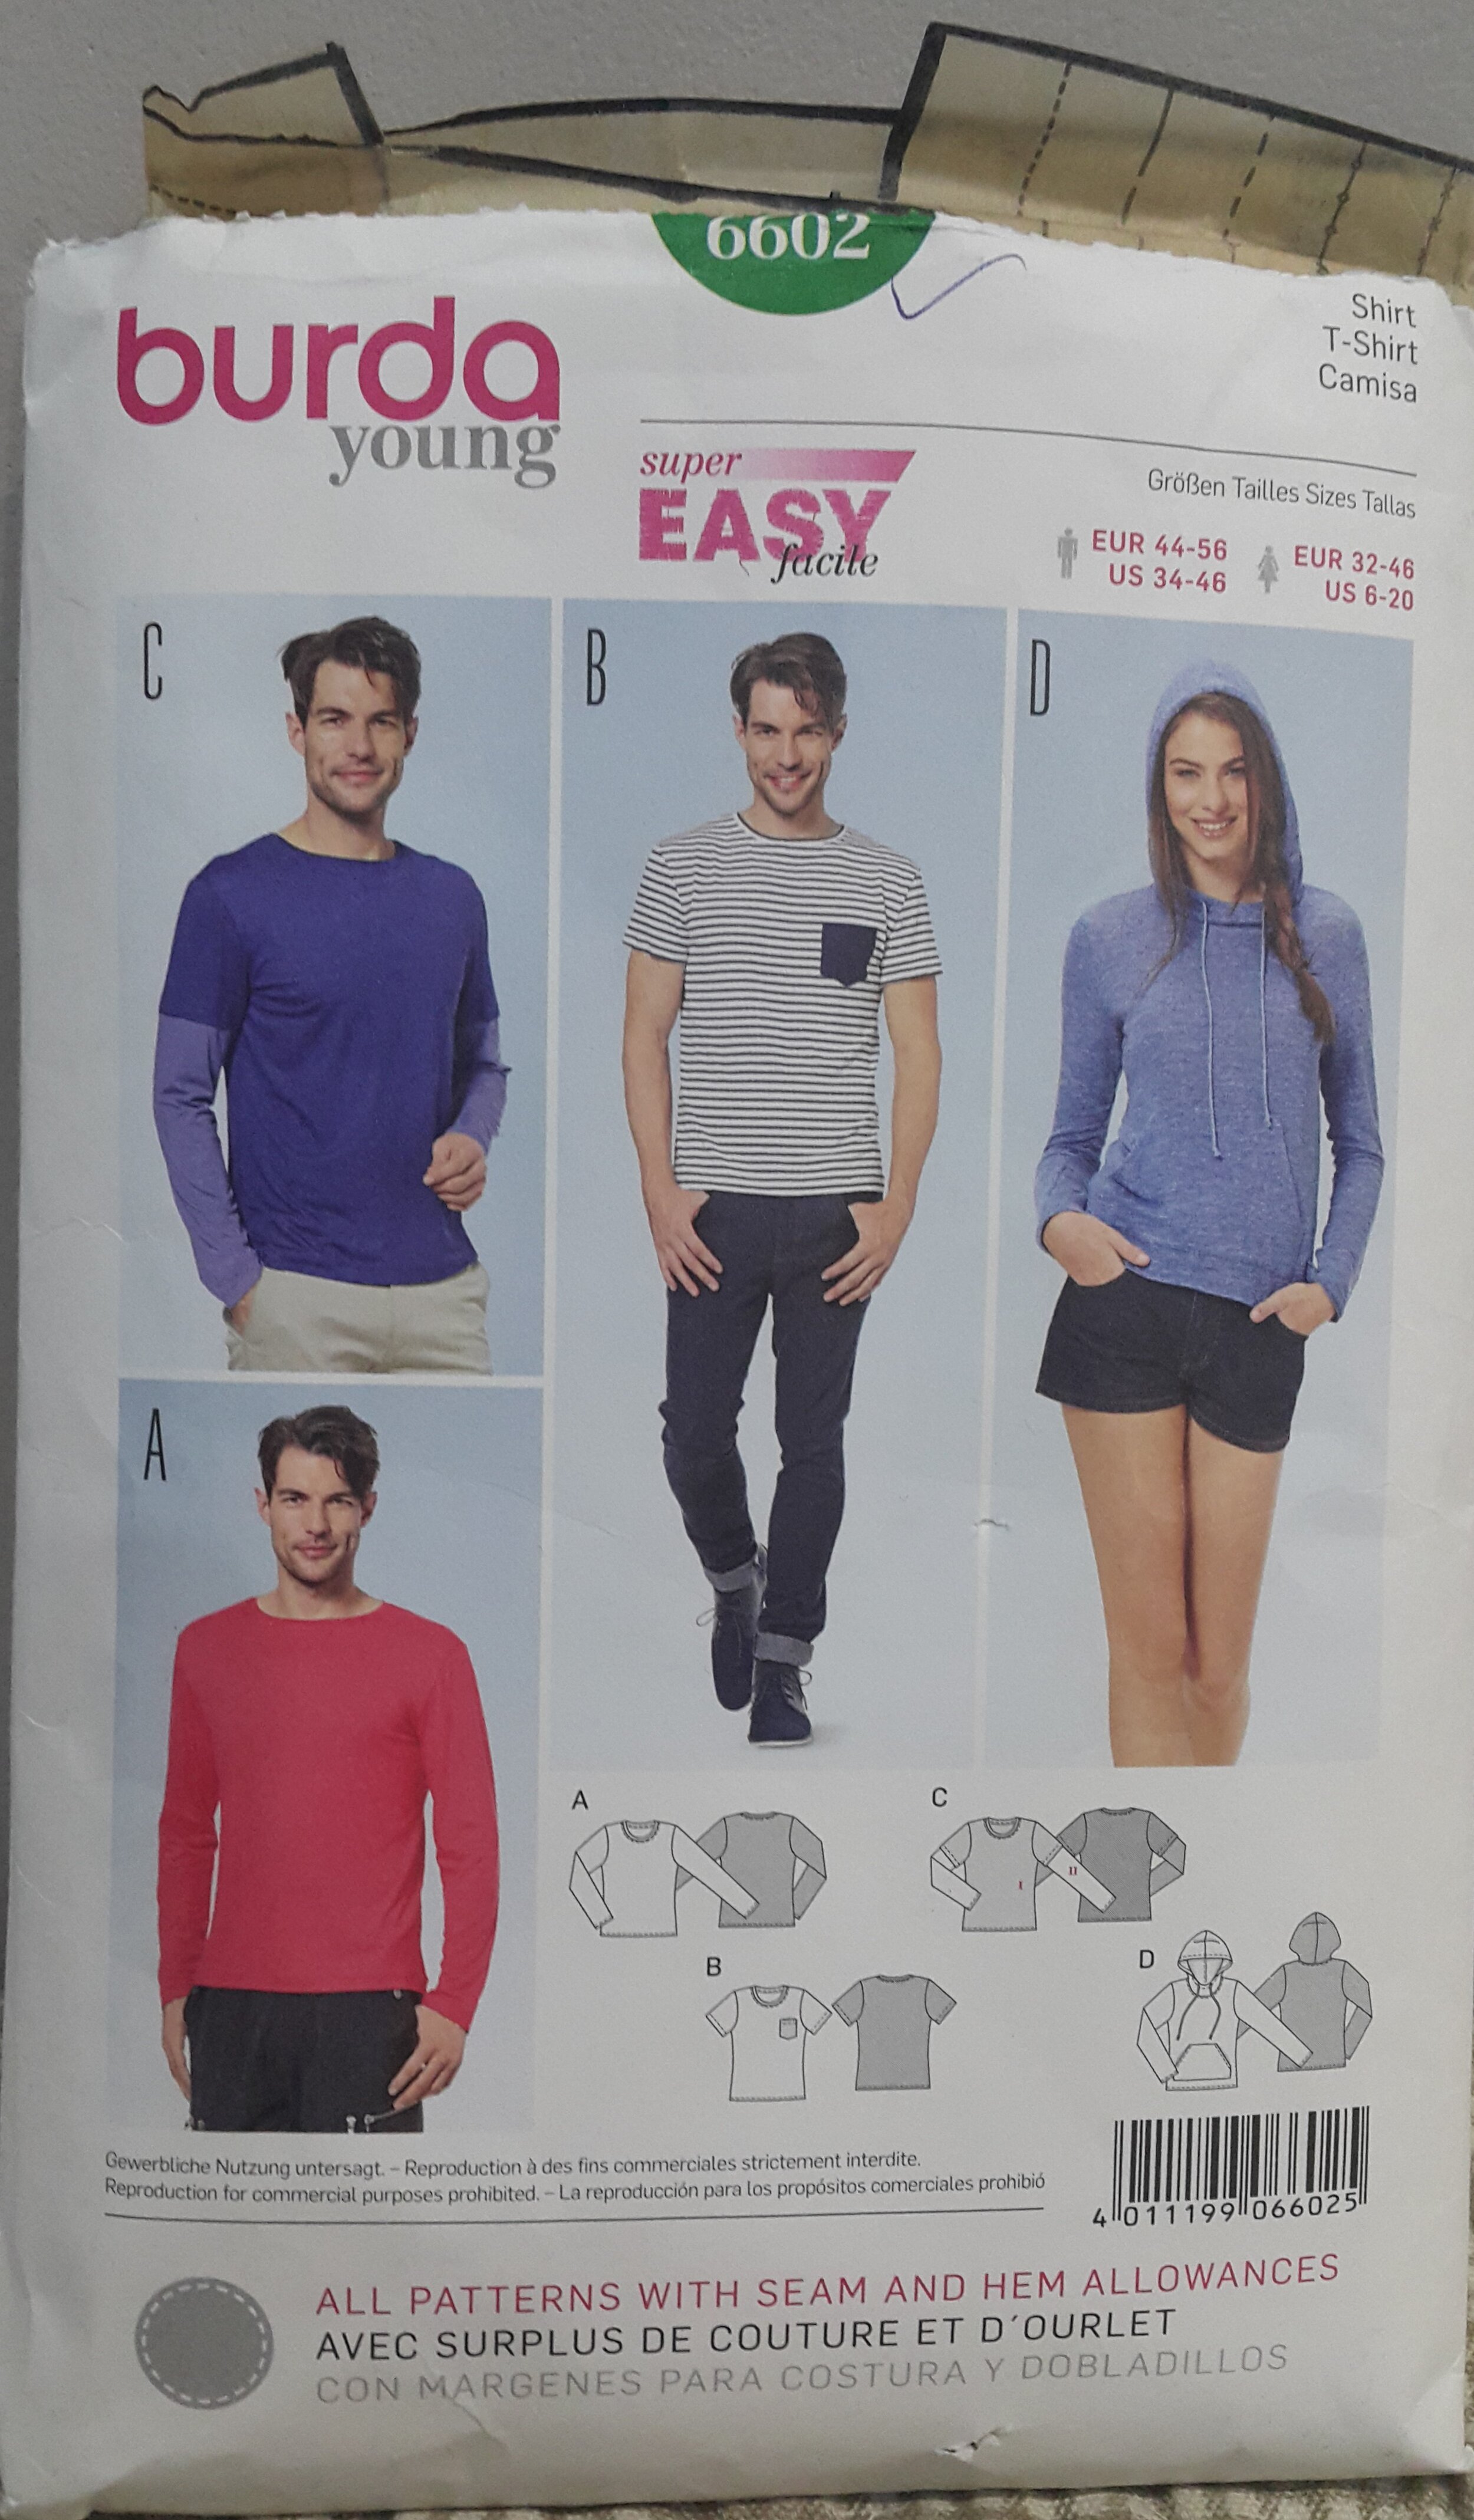
The front of the Burda Style 6602 pattern that comes in four styles. A is a long sleeve tee; B is a short sleeve t-shirt with a breast pocket; C is a short + long sleeve combo; D is a hoodie with kangaroo pocket.
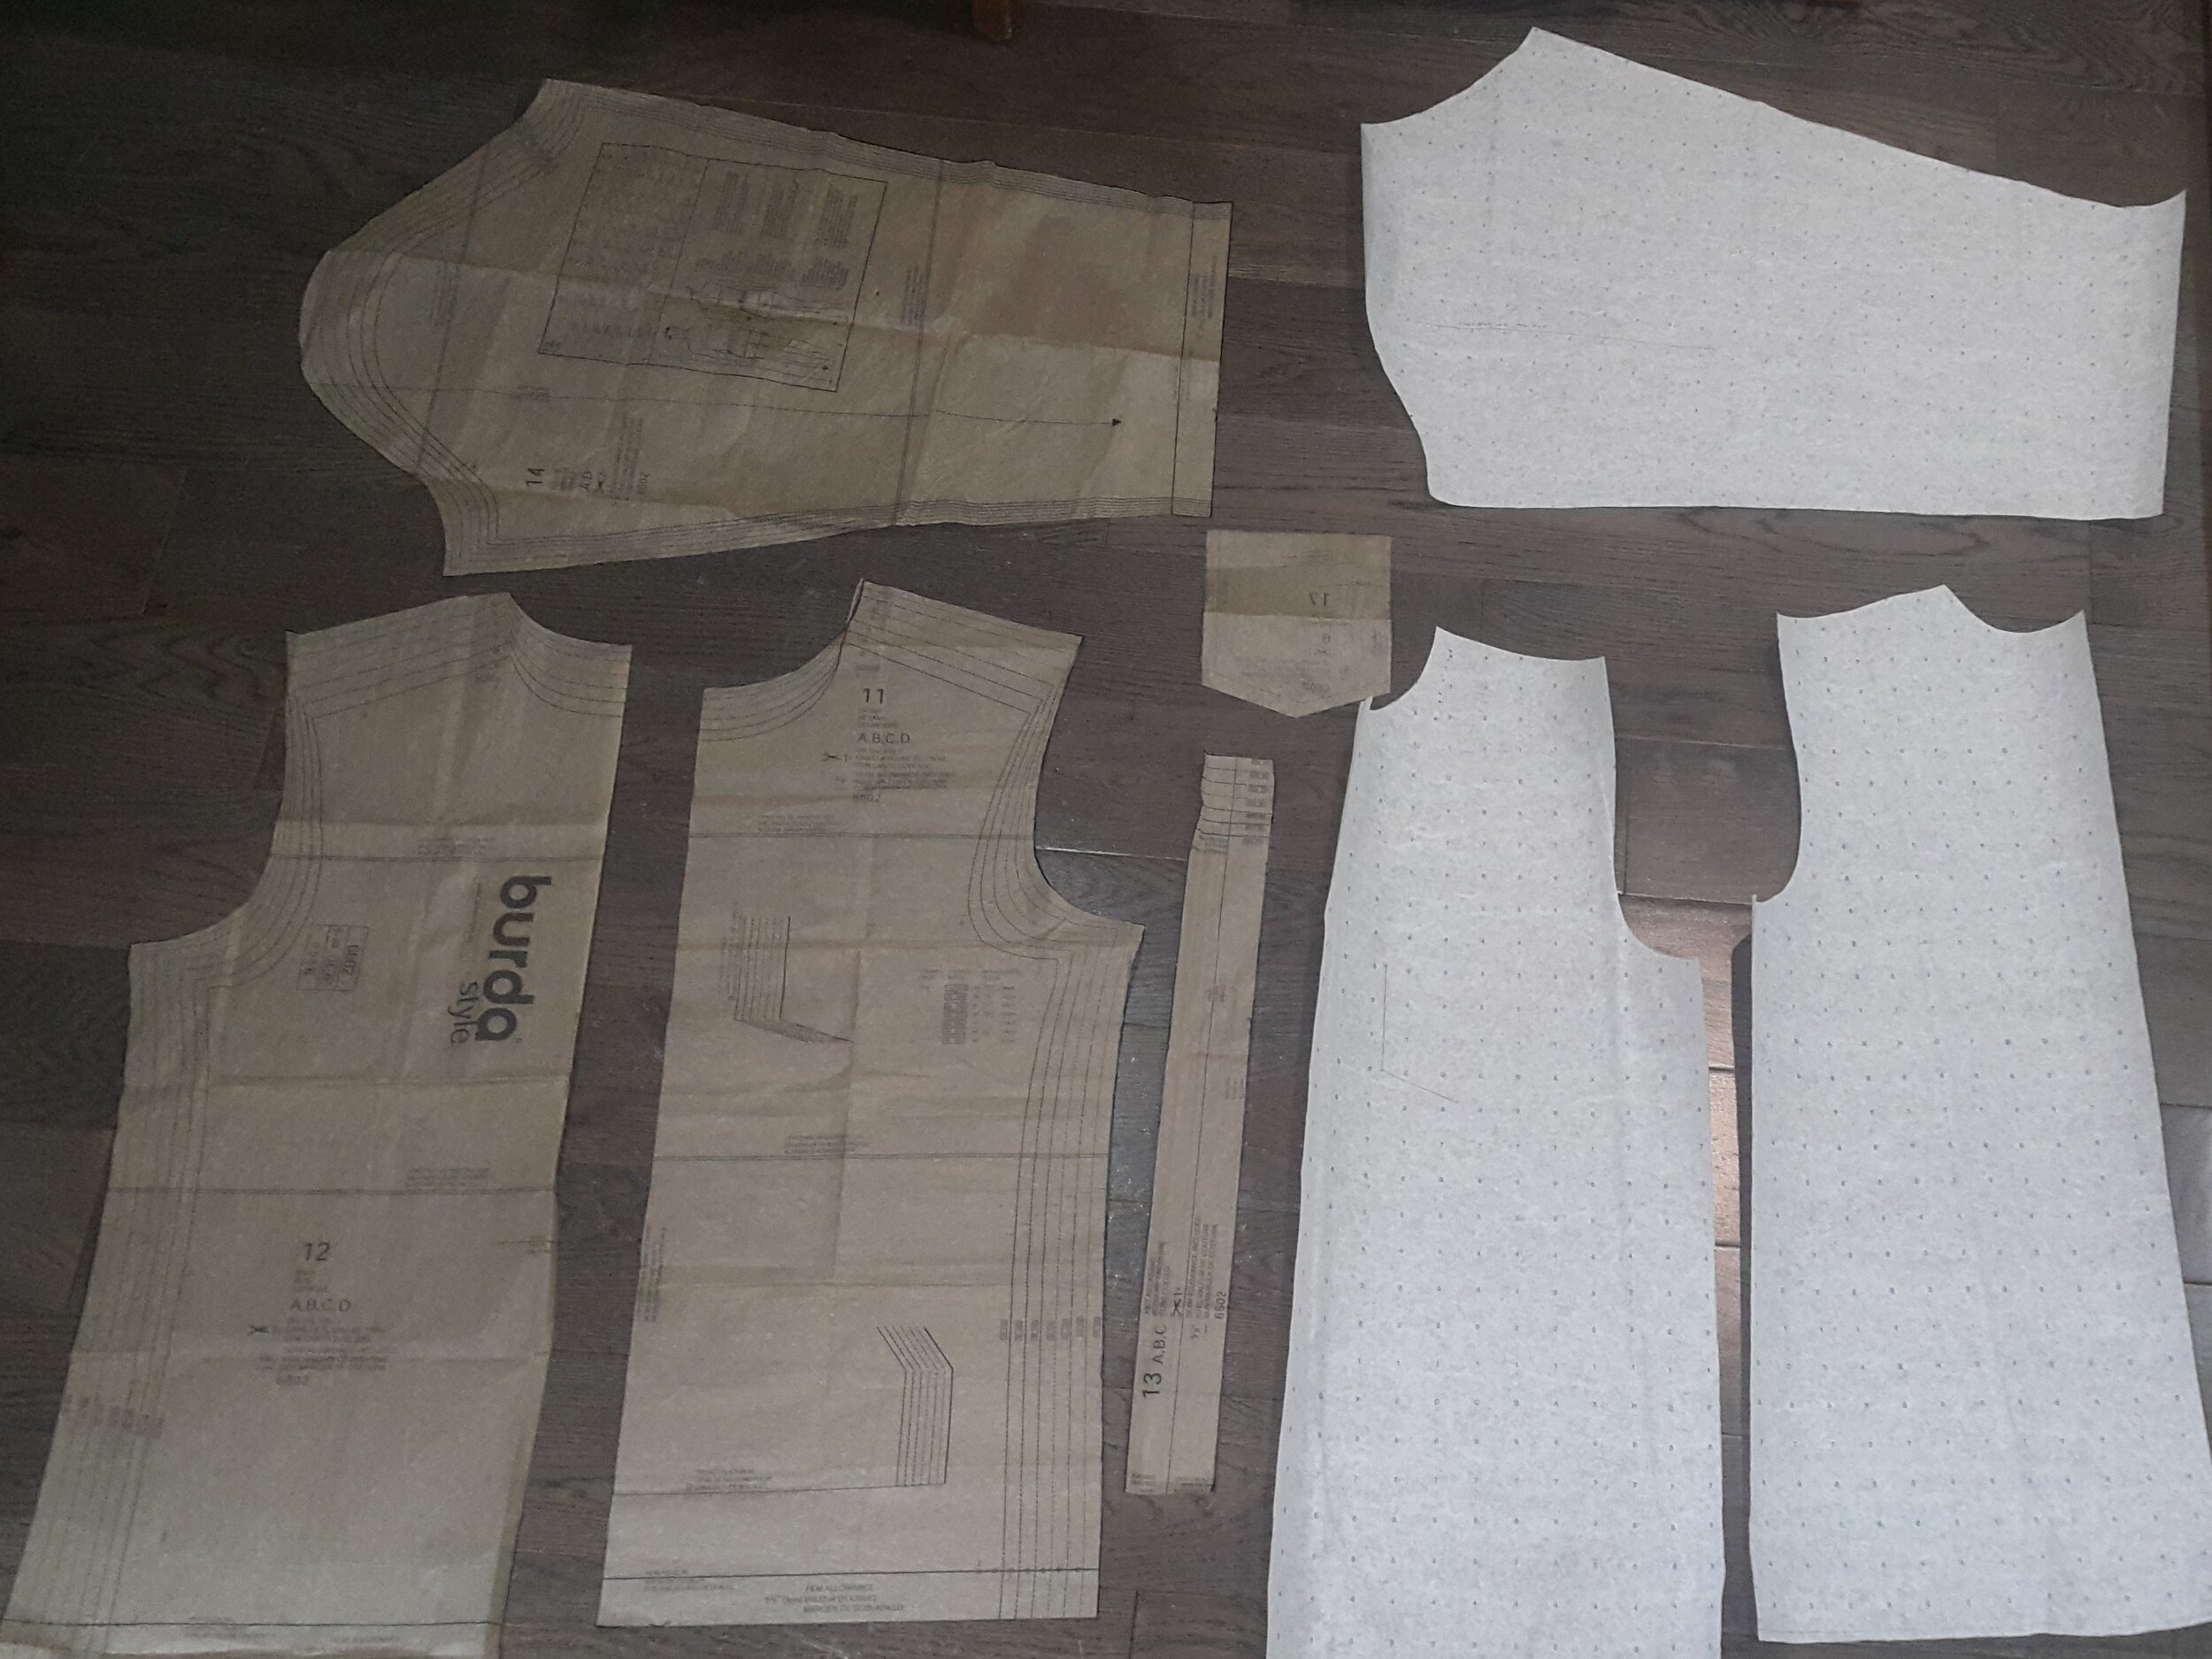
An overhead shot of pattern pieces - sleeve, front, back, neckband, and pocket - cut directly from the pattern, laying beside traced sleeve, front, and back pieces.
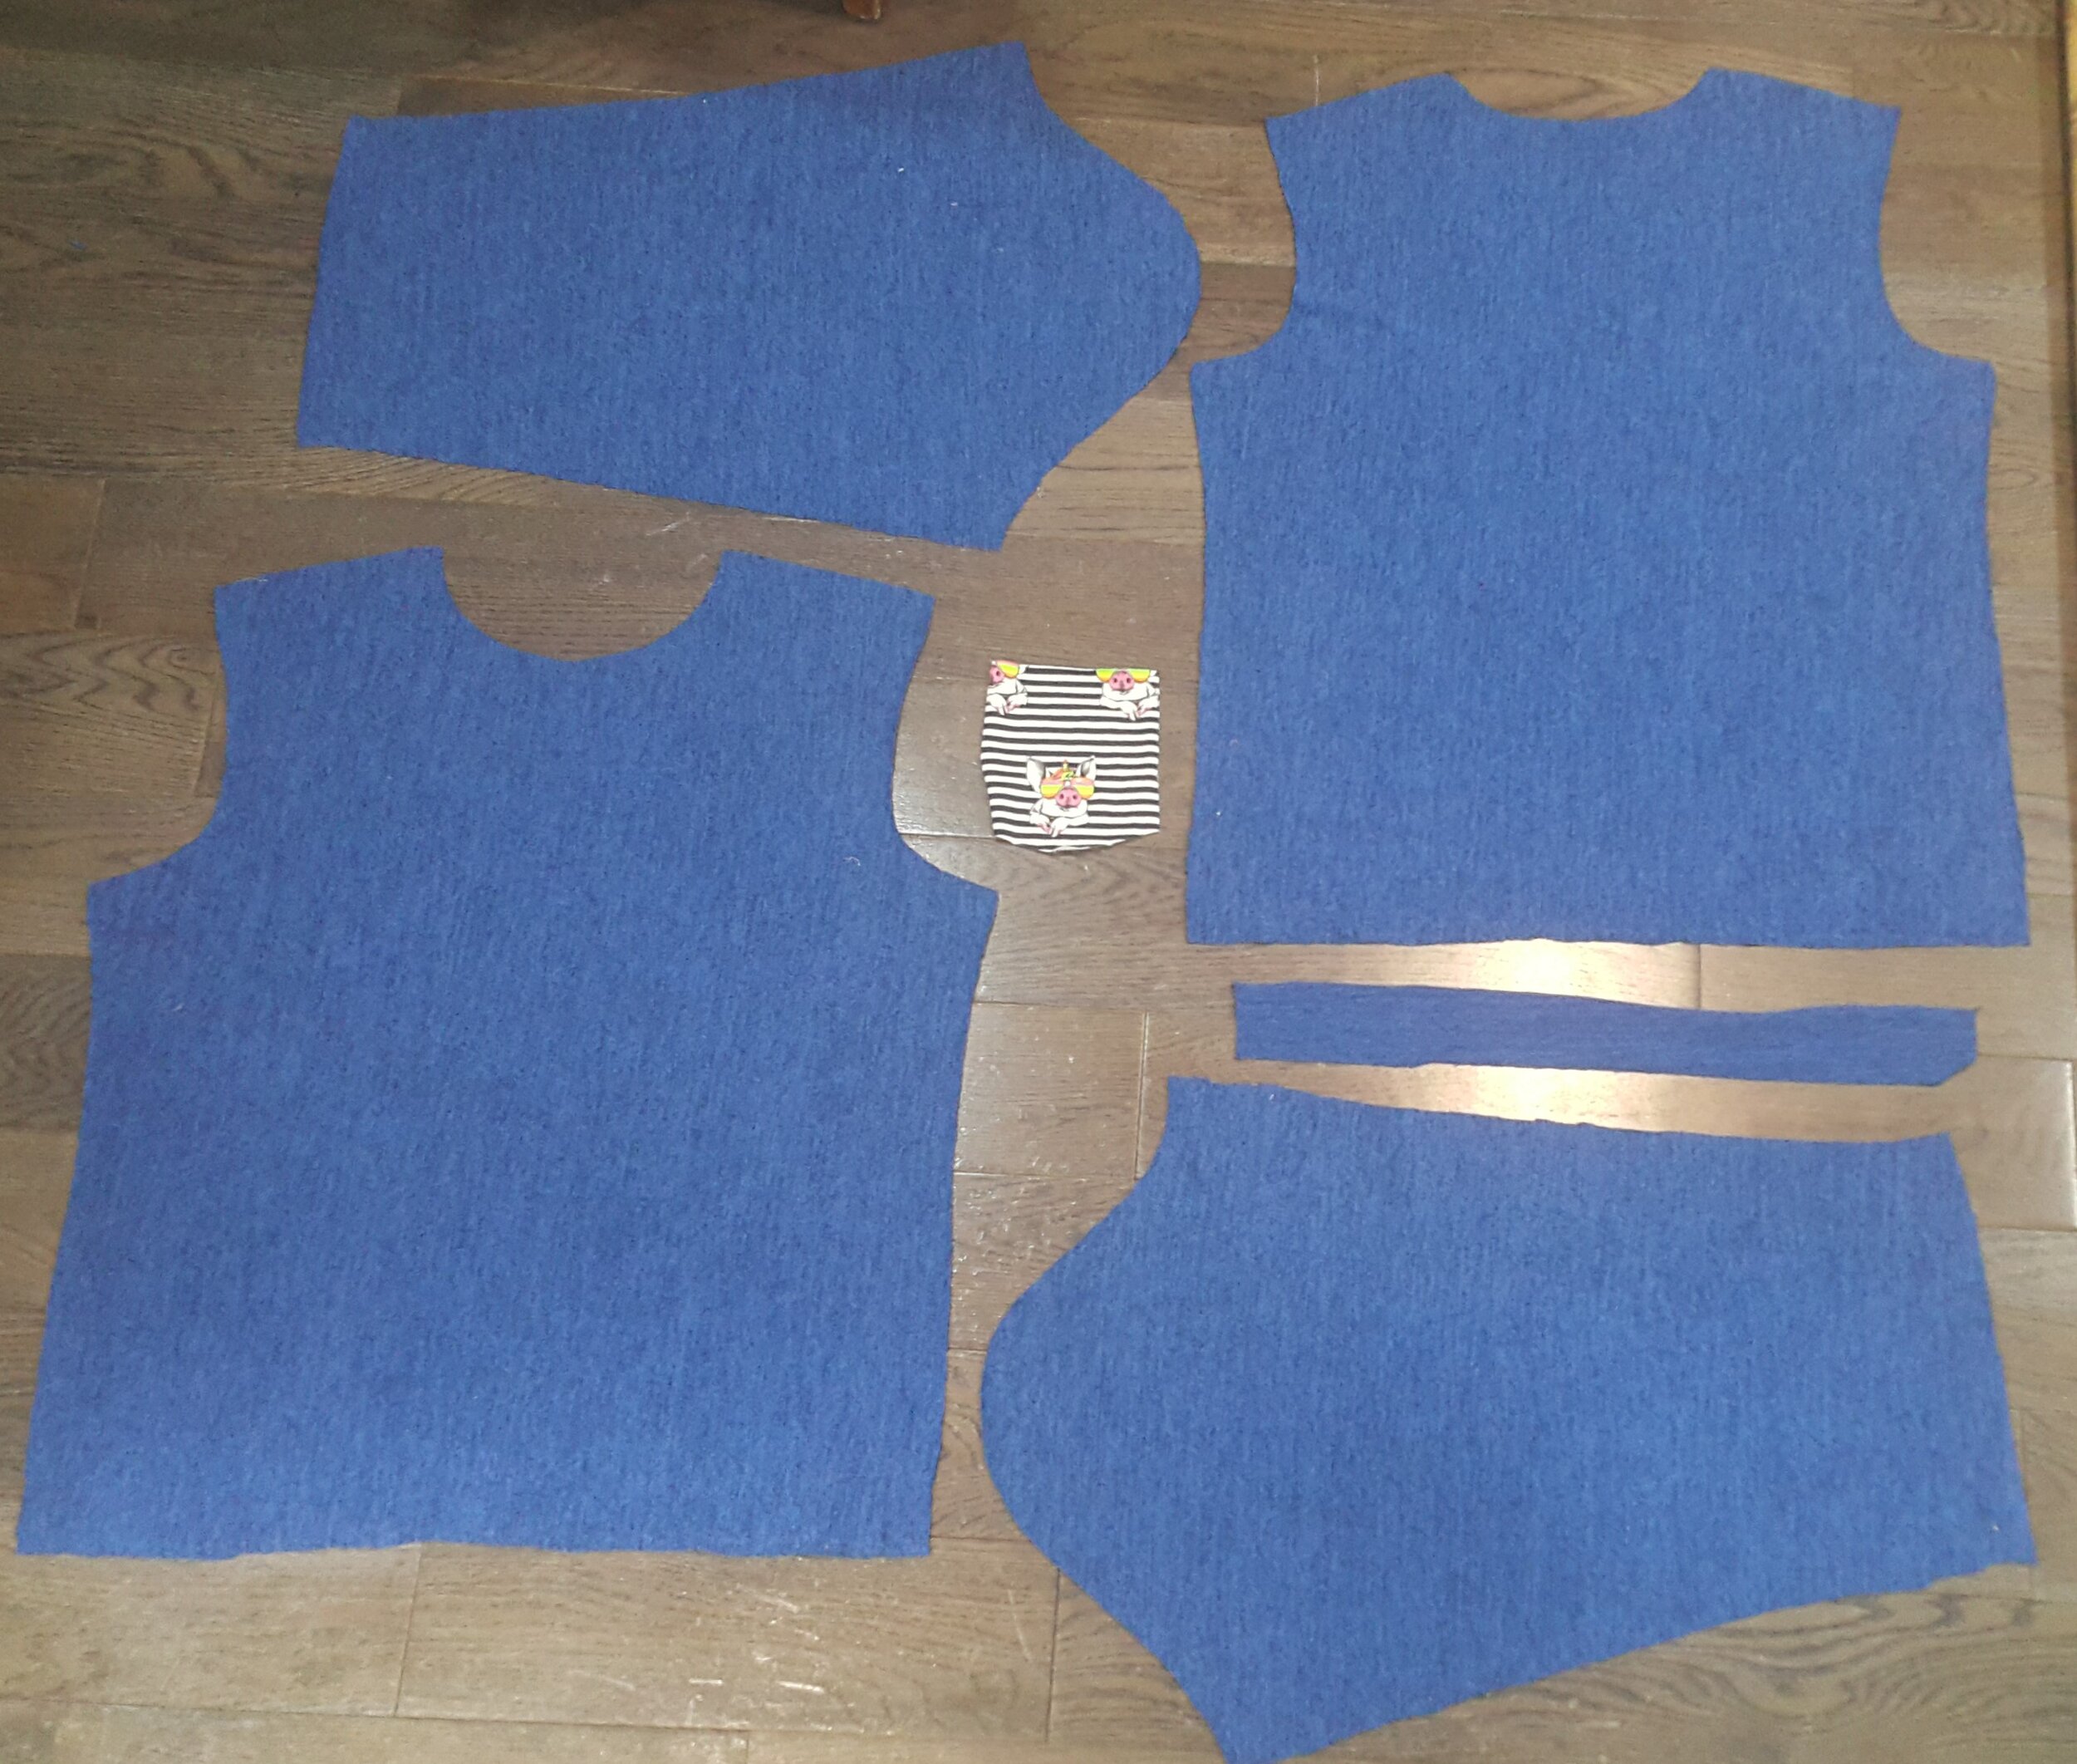
An overhead shot of the fabric pieces ready to be sewn. The fabric is a brushed jersey, made of polyester and spandex. The pocket is in a graphic print - a navy and white stripe. There is a single image of a pig with a fluorescent unicorn horn wearing fluorescent sunglasses.
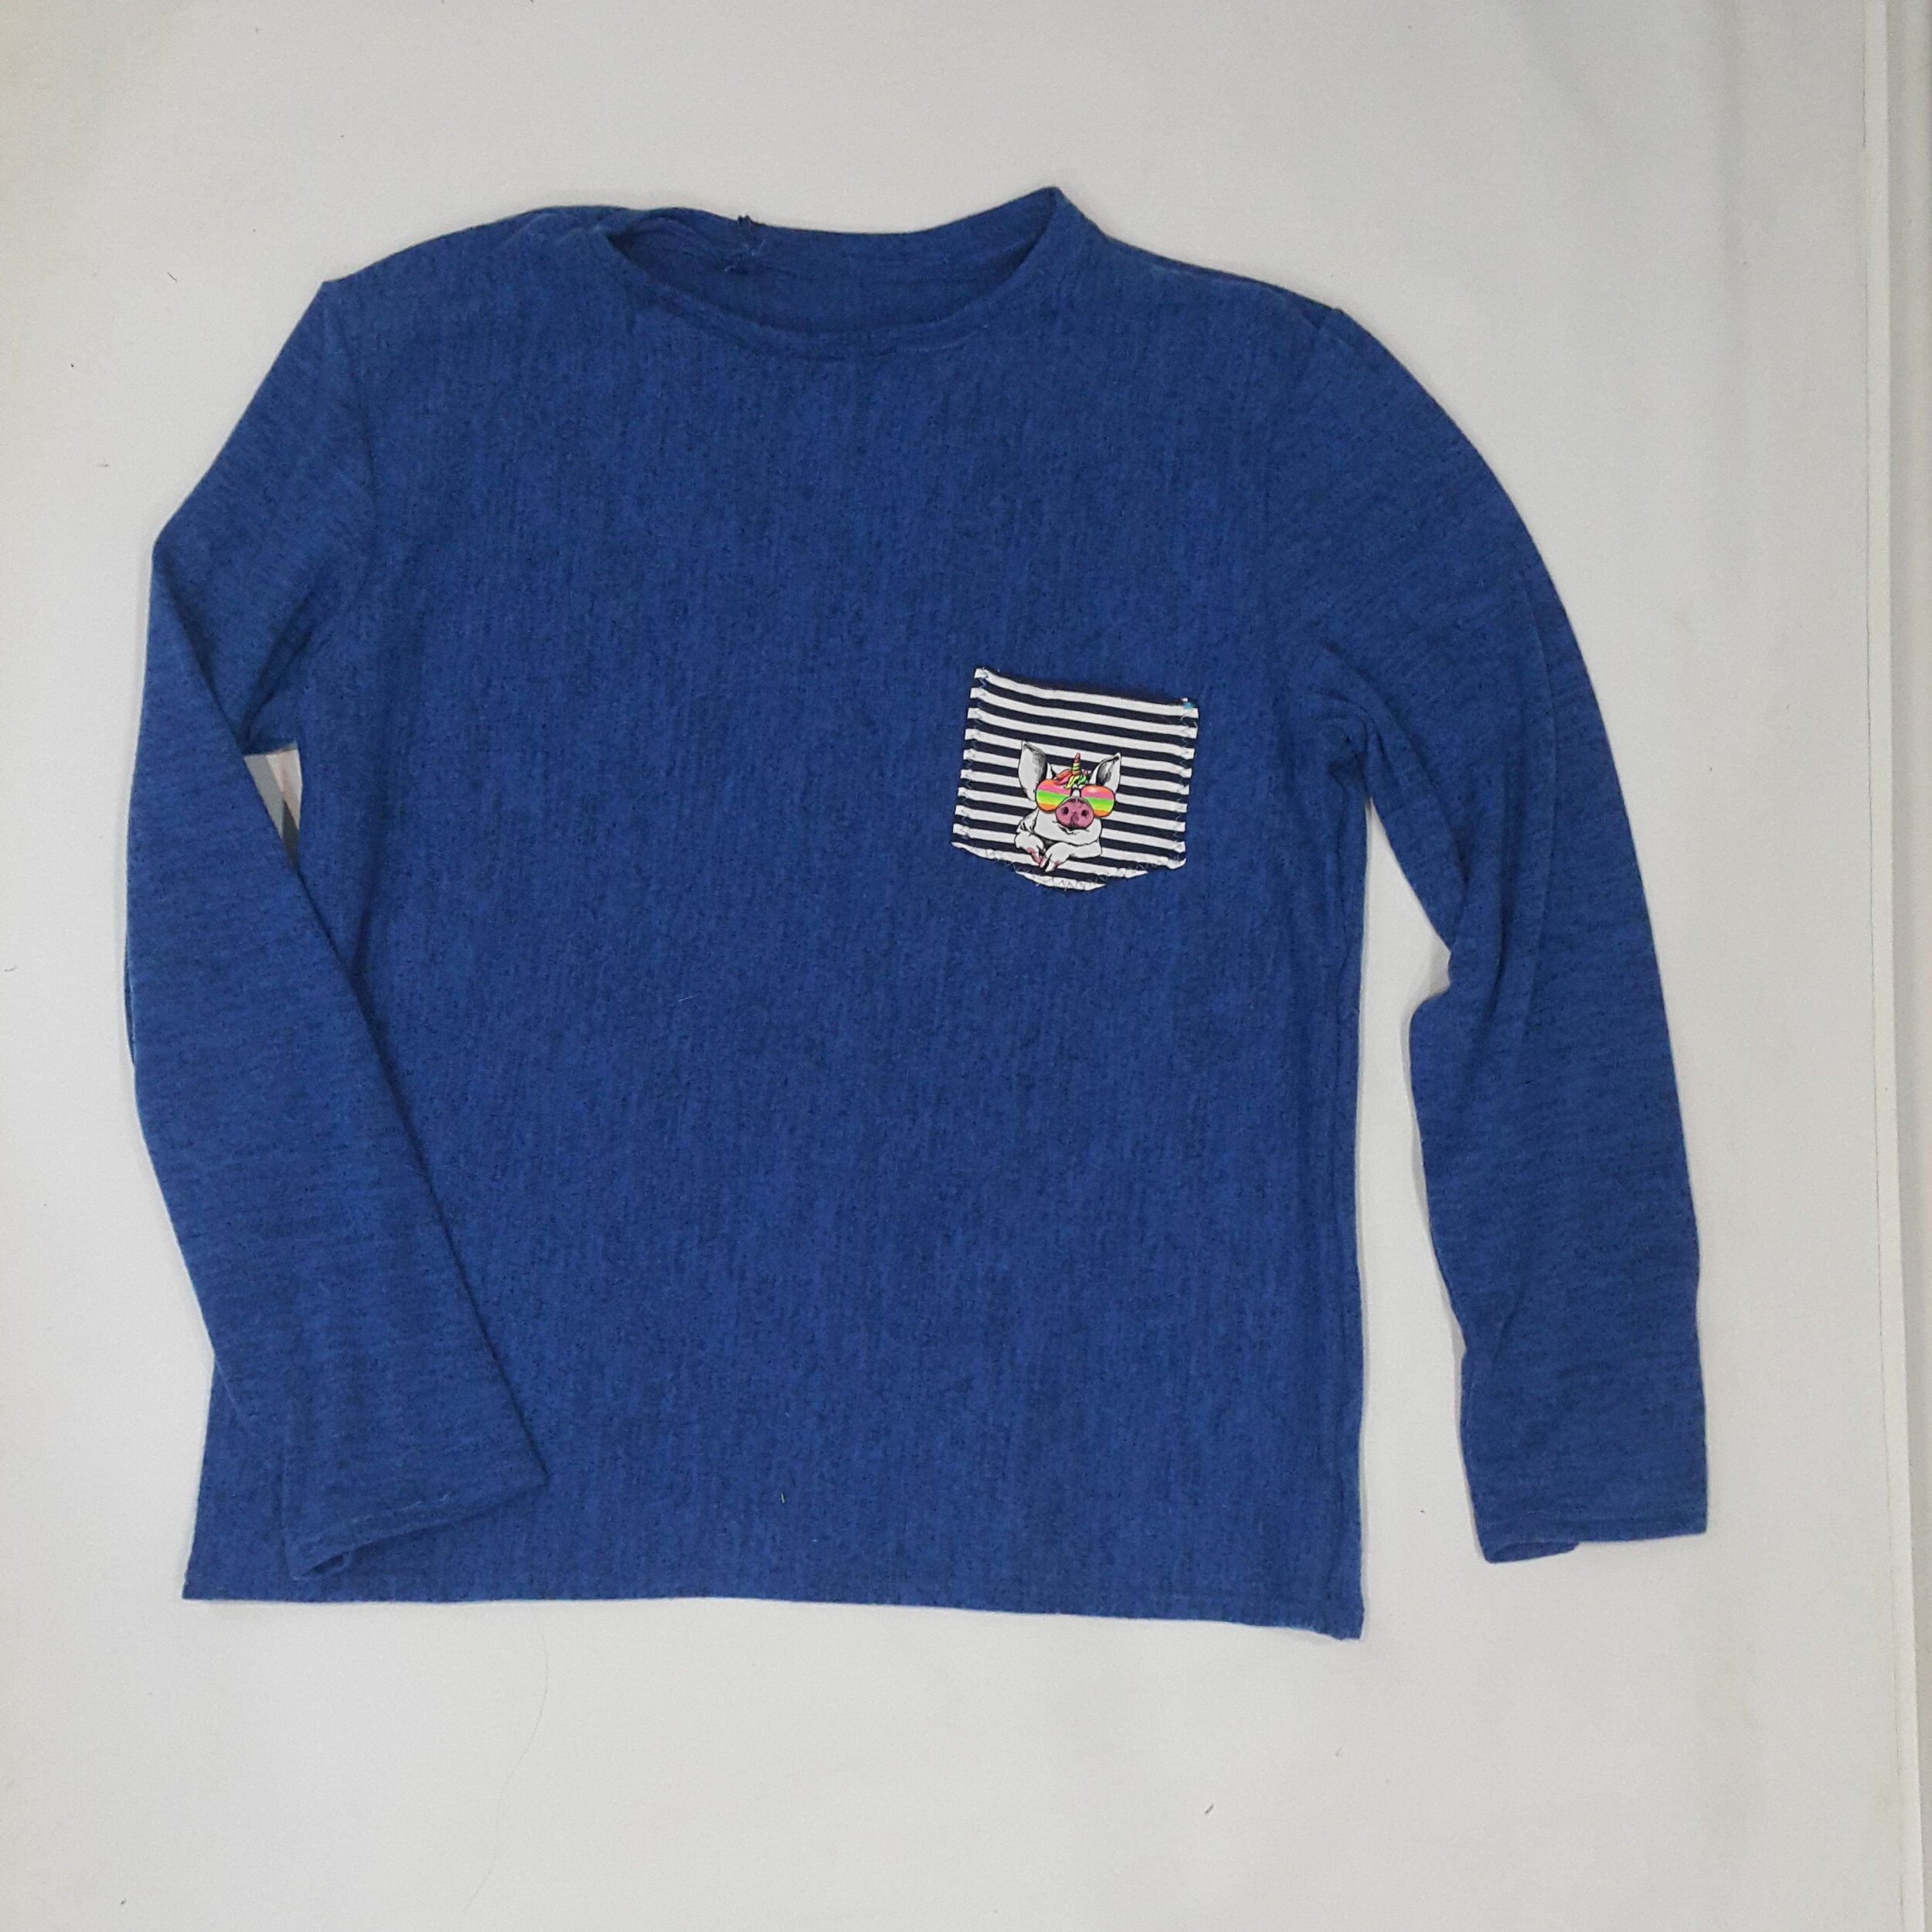
An overhead view of the front side finished shirt, laying against a white background.
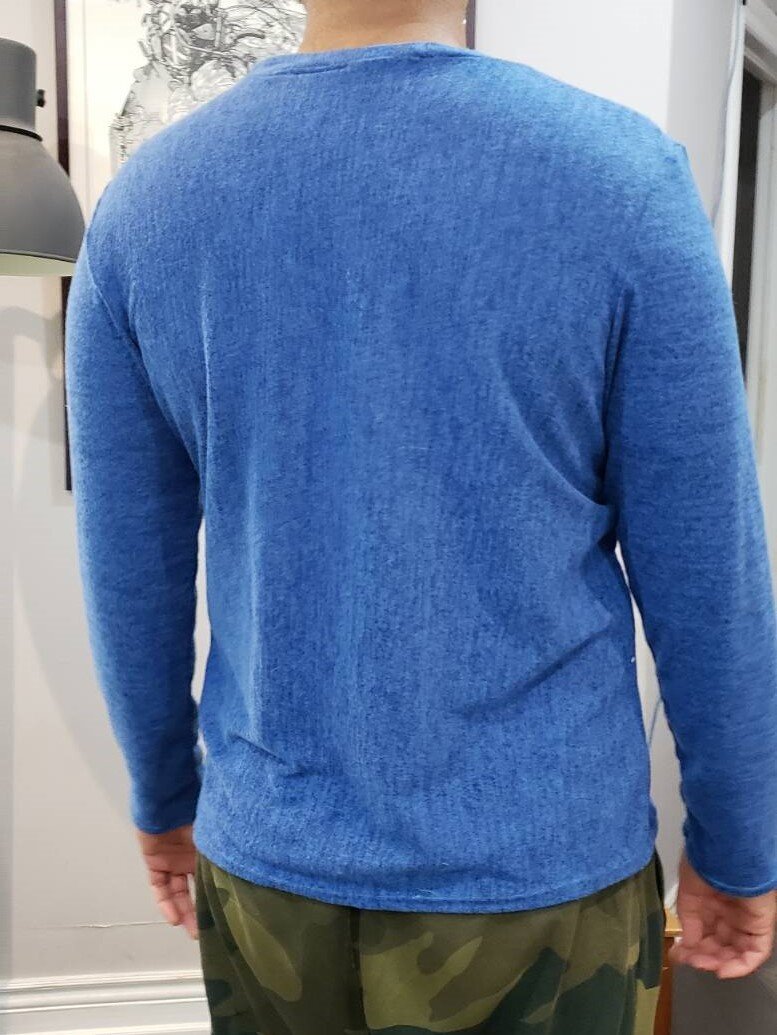
A back view of the shirt being worn by its owner.
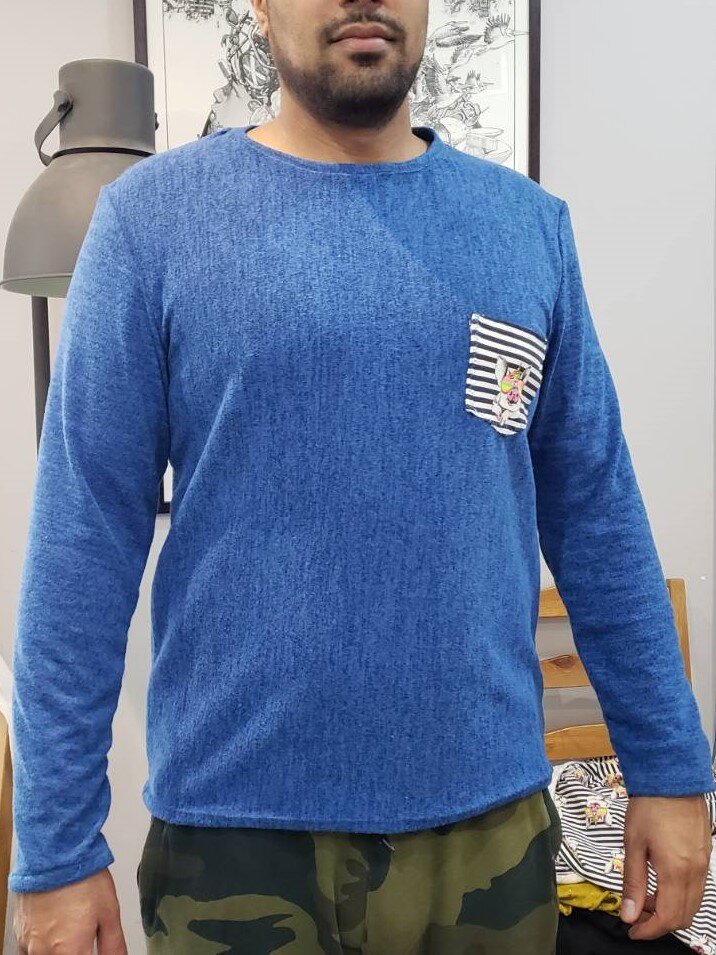
A front view of the shirt being worn by its owner with the pocket in view, with a slightly crooked placement.