Reconstructing T-Shirt Quilt #1
I started de-constructing this quilt on November 16 and finished it on December 27th, 2020.

I’ve written about the very first sewing project I ever made - a small quilt made from old t-shirts. I didn’t start that project with a desire to learn to quilt. Rather, I wanted to make a quilt so I could repurpose old t-shirts I was too attached to to throw away. Little did I know that after finishing my first this quilt that I’d continue to sew quilts and eventually all sorts of other things. All of this is to say that over the years, I had learned a lot about sewing and quilting specifically. Having accumulated more knowledge, more t-shirts, and a lot of scrap fabric, I was really motivated to re-make this quilt. I wanted to address three things with this re-construction:
Size. My quilt sits on the couch so it didn’t need to be a specific size, I just wanted it to be bigger. My original quilt was great to cover your lap, but not suitable to take a nap or to cover two people.
Finishing. I also wanted to add a border. I was so excited to have the original quilt face finished that I googled “how to you finish a quilt” and watched The Ultimate Quilt Binding Tutorial from the Missouri Star Quilt Company and proceeded to make and sew my binding. It wasn’t until watching more blogs and videos in preparation for my second quilt project that I recognized how a border featured in the overall design and look.
Materials. The last thing I wanted to change was to use higher quality backing and inside. This time, I opted for a softer and thinner cotton/poly batting and a softer flannel backing, called flannelette. I also wanted to include new t-shirts as well as the scrap fabric I had accumulated from other projects.
Re-making this quilt also gave me a chance to try “crumb quilting” or “improv piecing” as a way to create a patchwork from my scrap fabric. In all three of my t-shirt quilts, I’ve had to add patches to fill in gaps between t-shirt squares but it never occurred to me to be more creative with these sections until I saw other people’s scrap quilts and quilt blocks. It was really fun to be free from precise measurements and to make creative decisions on the fly.
I ended up using all of my scraps but still had gaps to fill in my quilt. I went back to my fabric stash and created some faux scraps to use. This was fun because it allowed me to introduce other aesthetic and creative elements to the design. Sourcing scraps from larger pieces was particularly helpful for material with large patterns as it allowed me to isolate and cut out exactly what I wanted to include.
When I finished this quilt, I got hung up on the construction challenges I had along the way and the imperfections in the execution. There are loose stitches in some of my scrap patches. Every side is a different length and the corners are not square. It doesn’t lie completely flat. I don’t love the type of satin I chose for the binding. Ultimately though, I accomplished everything I set out to do. I took a project that meant a lot to me personally, and is a significant part of my sewing journey so far, and I added to it. I added more t-shirts gifted from special people and worn at special events. I made things for people and myself and used all those scraps. This quilt is so personal and so special to me that it’s perfect despite being imperfect, you know?

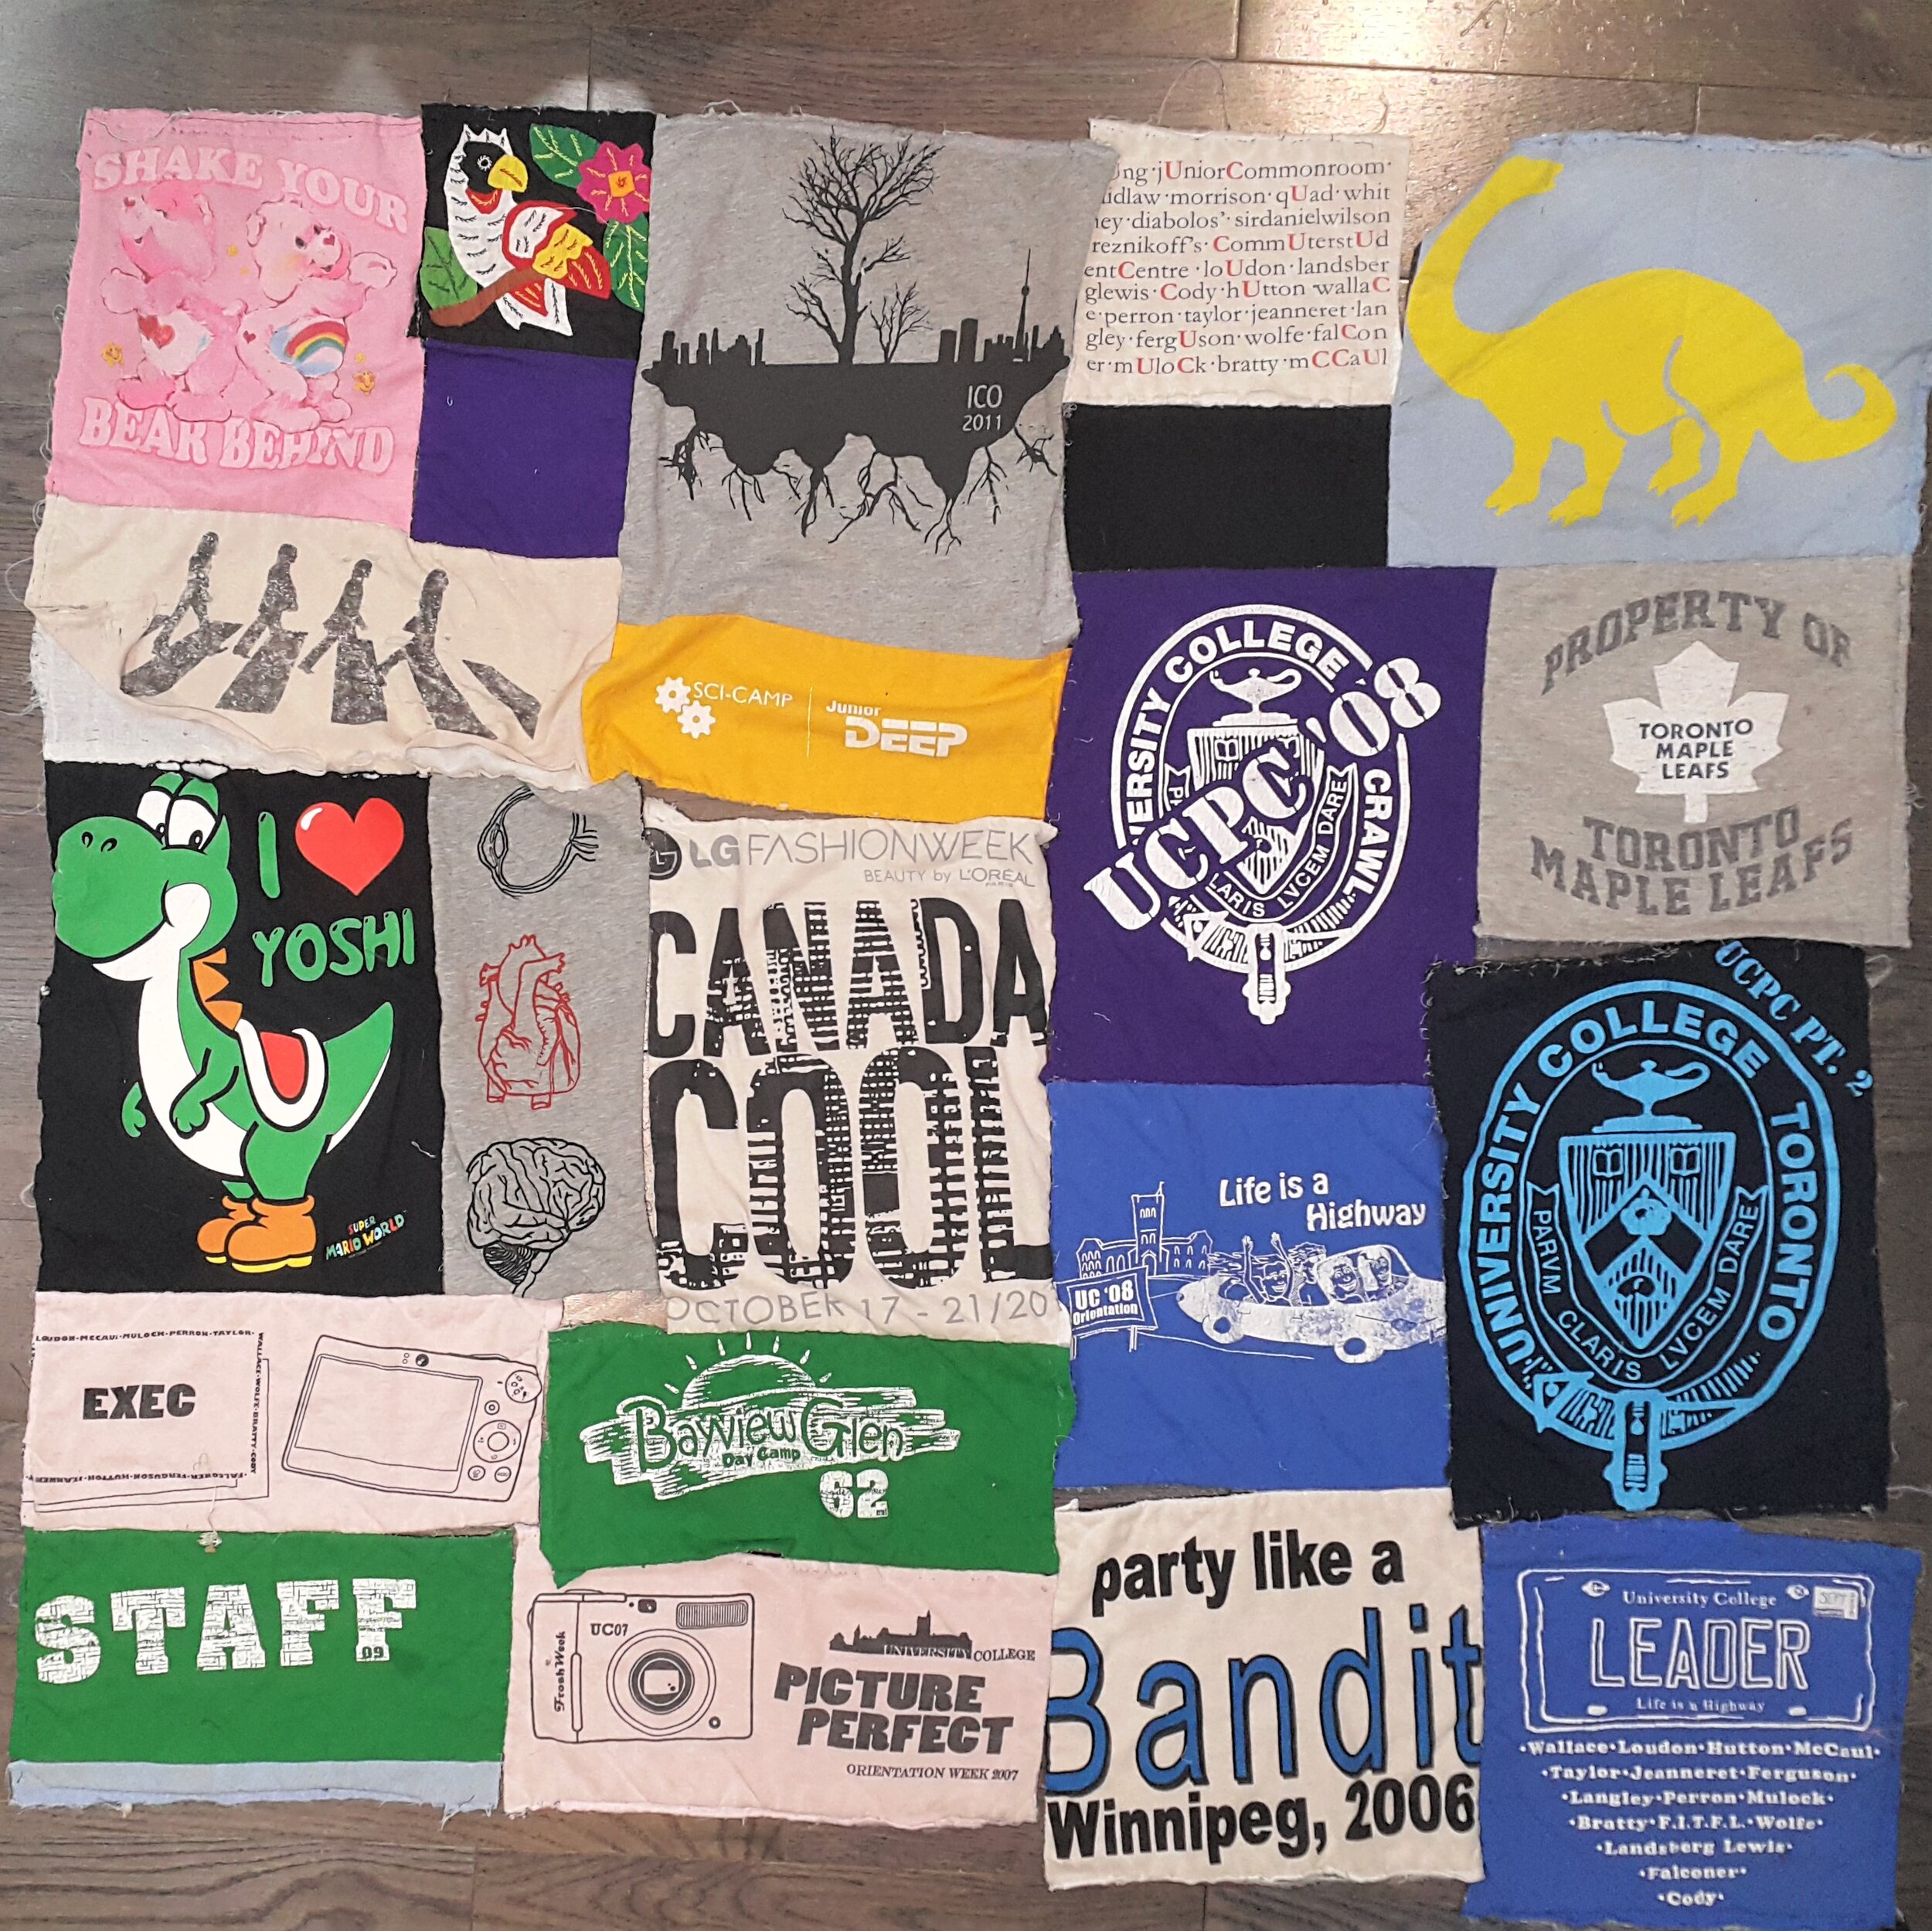
Before Photo. The front of T-Shirt Quilt #1.

After Photo. The front of the quilt after re-construction.
Deconstruction phase: There are only a few top stitches holding the quilt top down.
Deconstruction phase: The quilt top in the process of being taken apart into individual blocks.
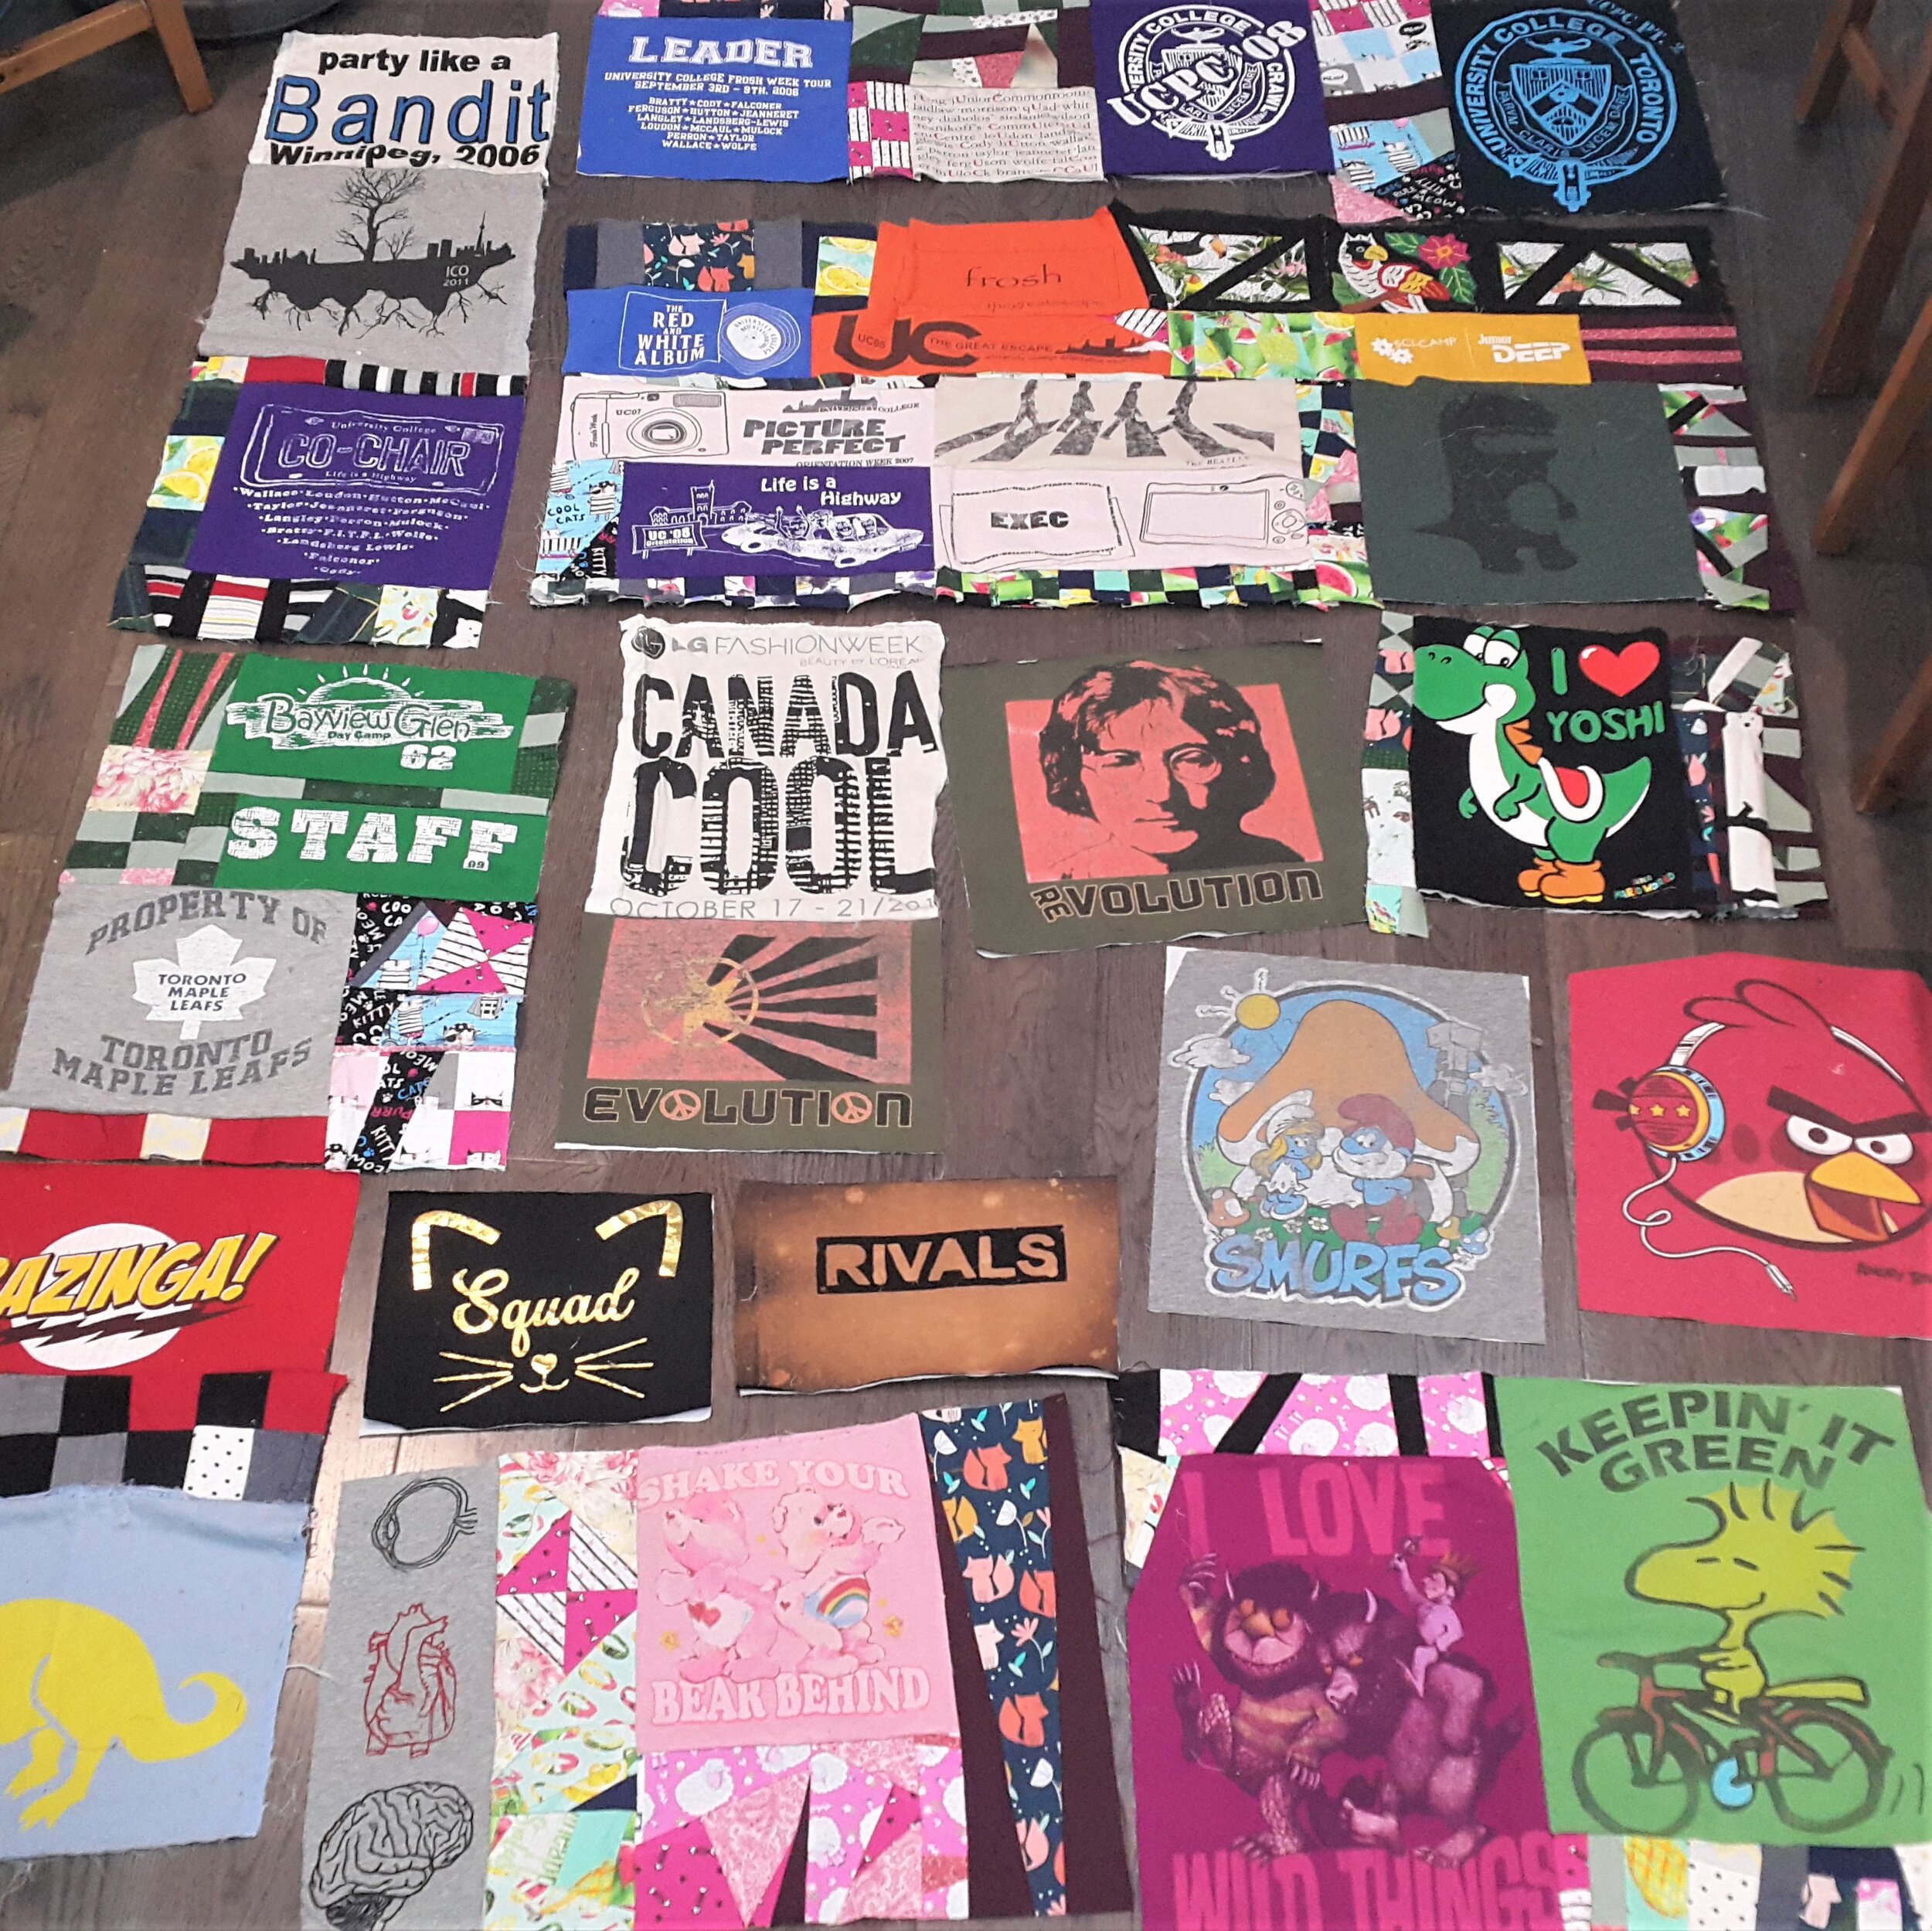
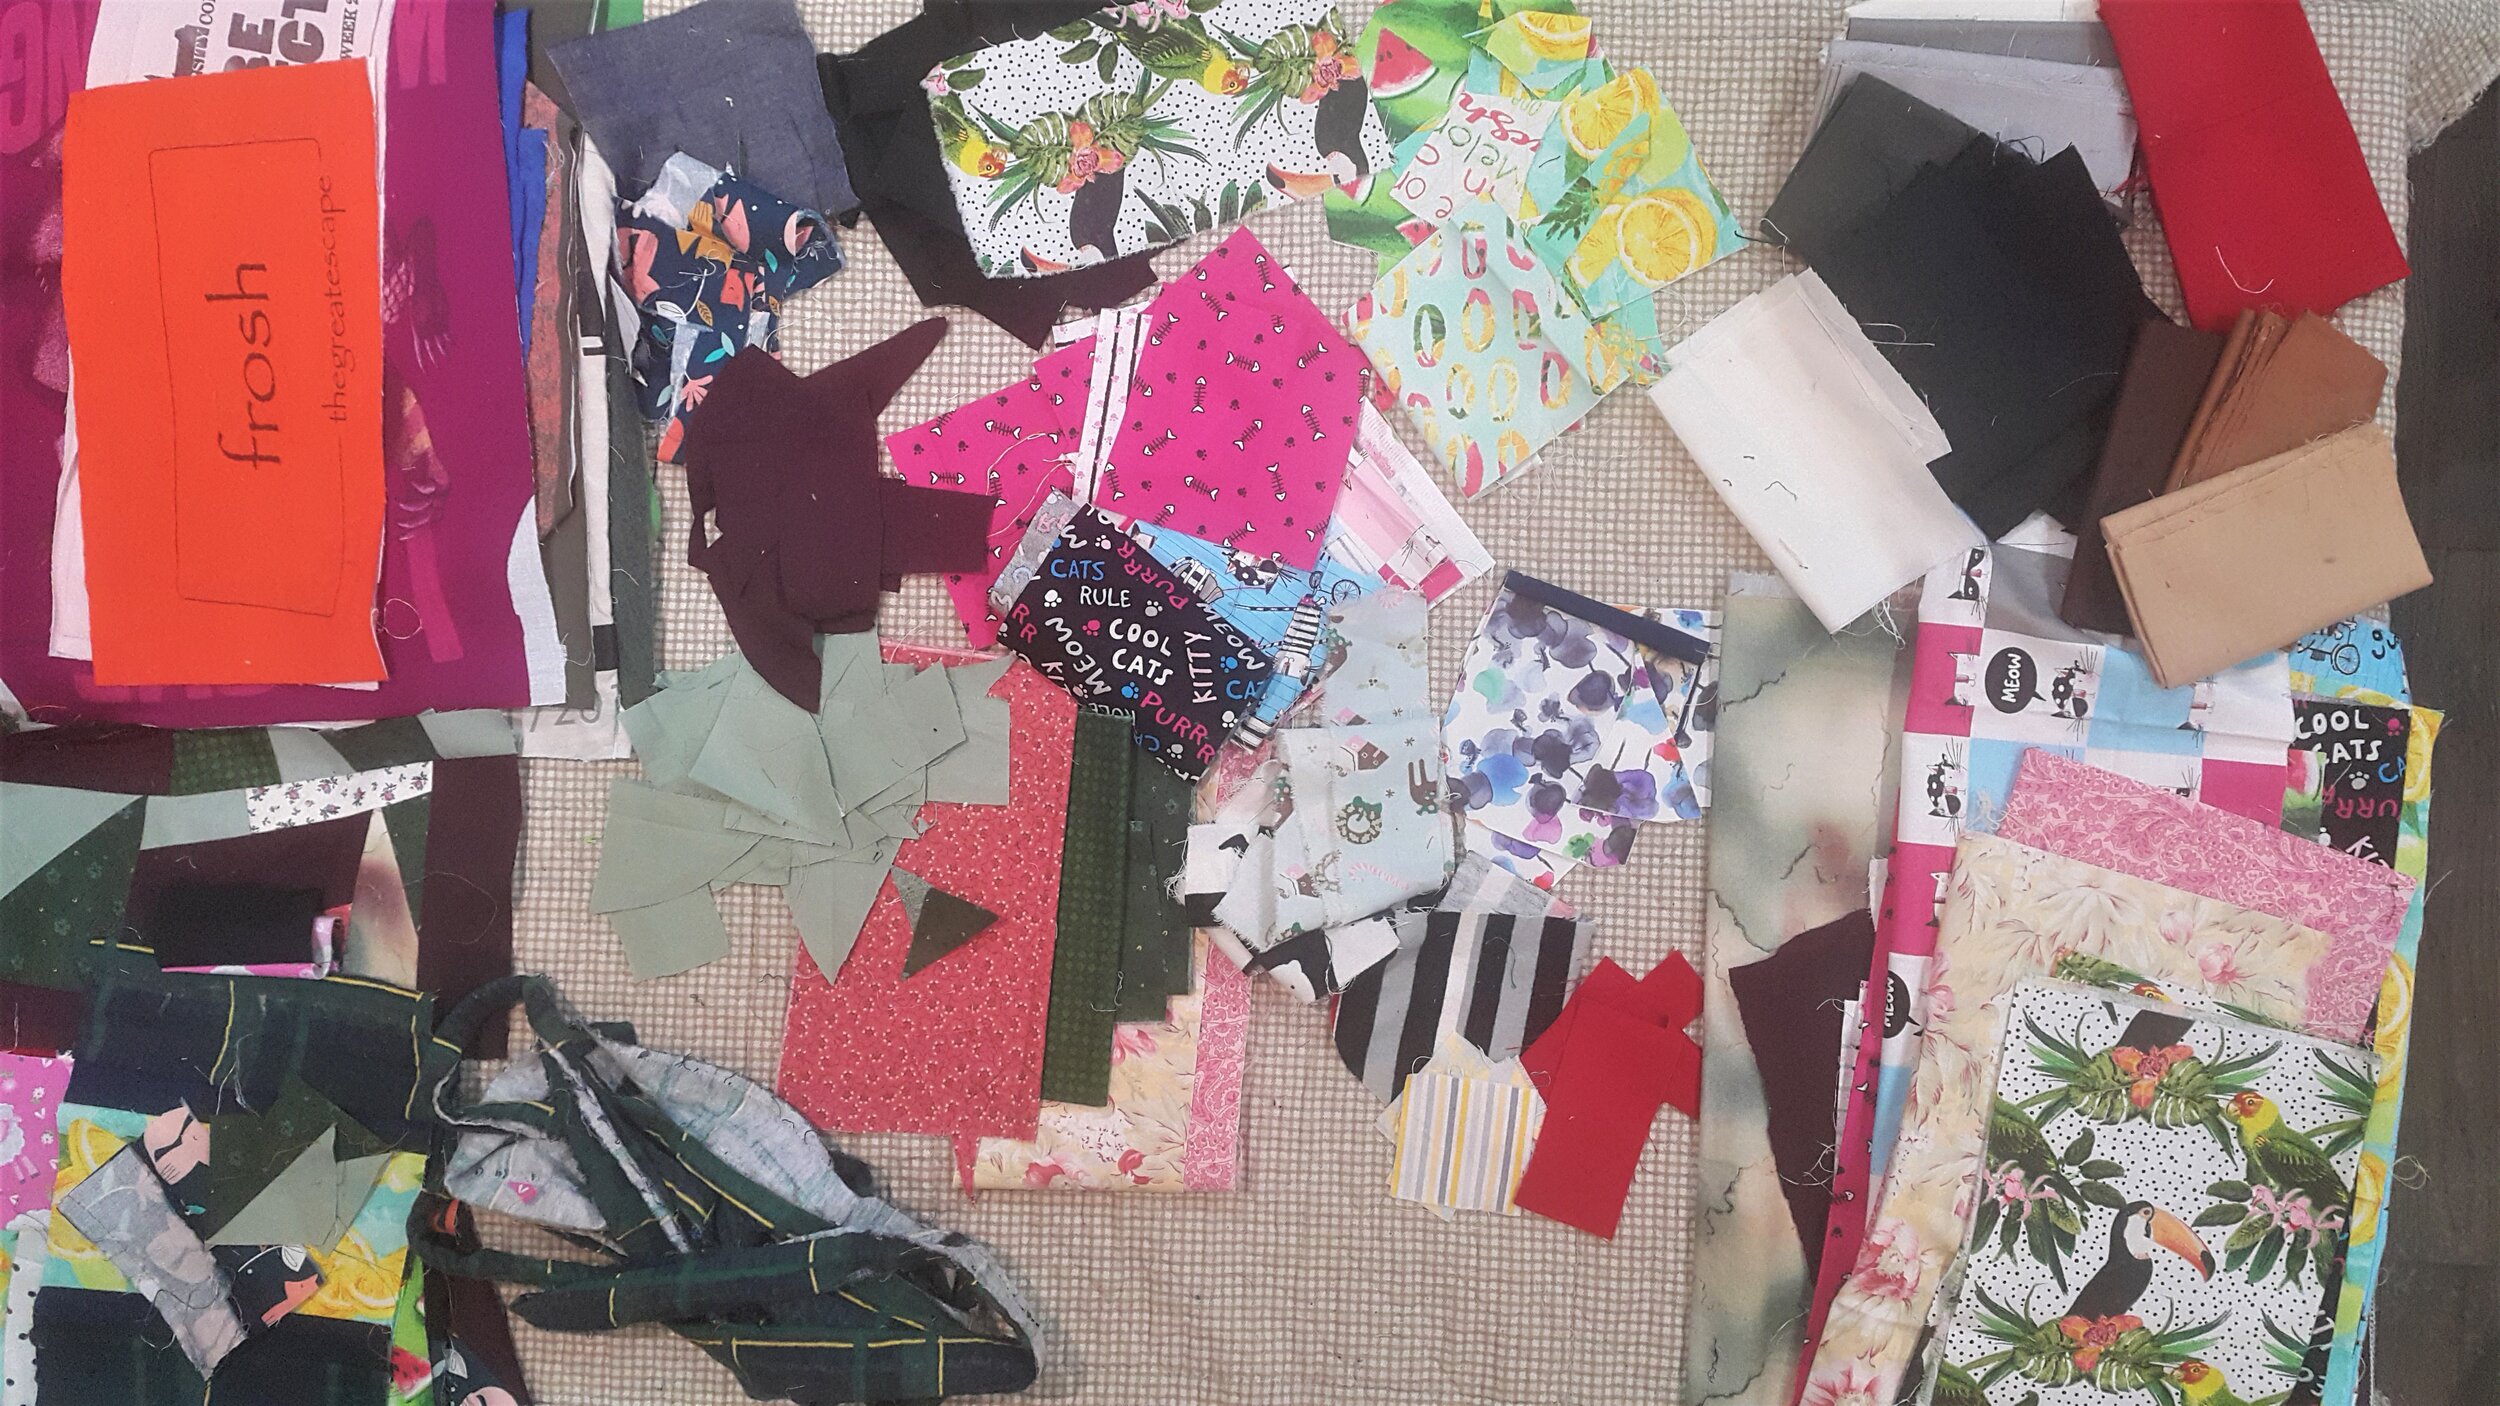
Design phase: Laying out blocks of t-shirts and scrap fabric patches.
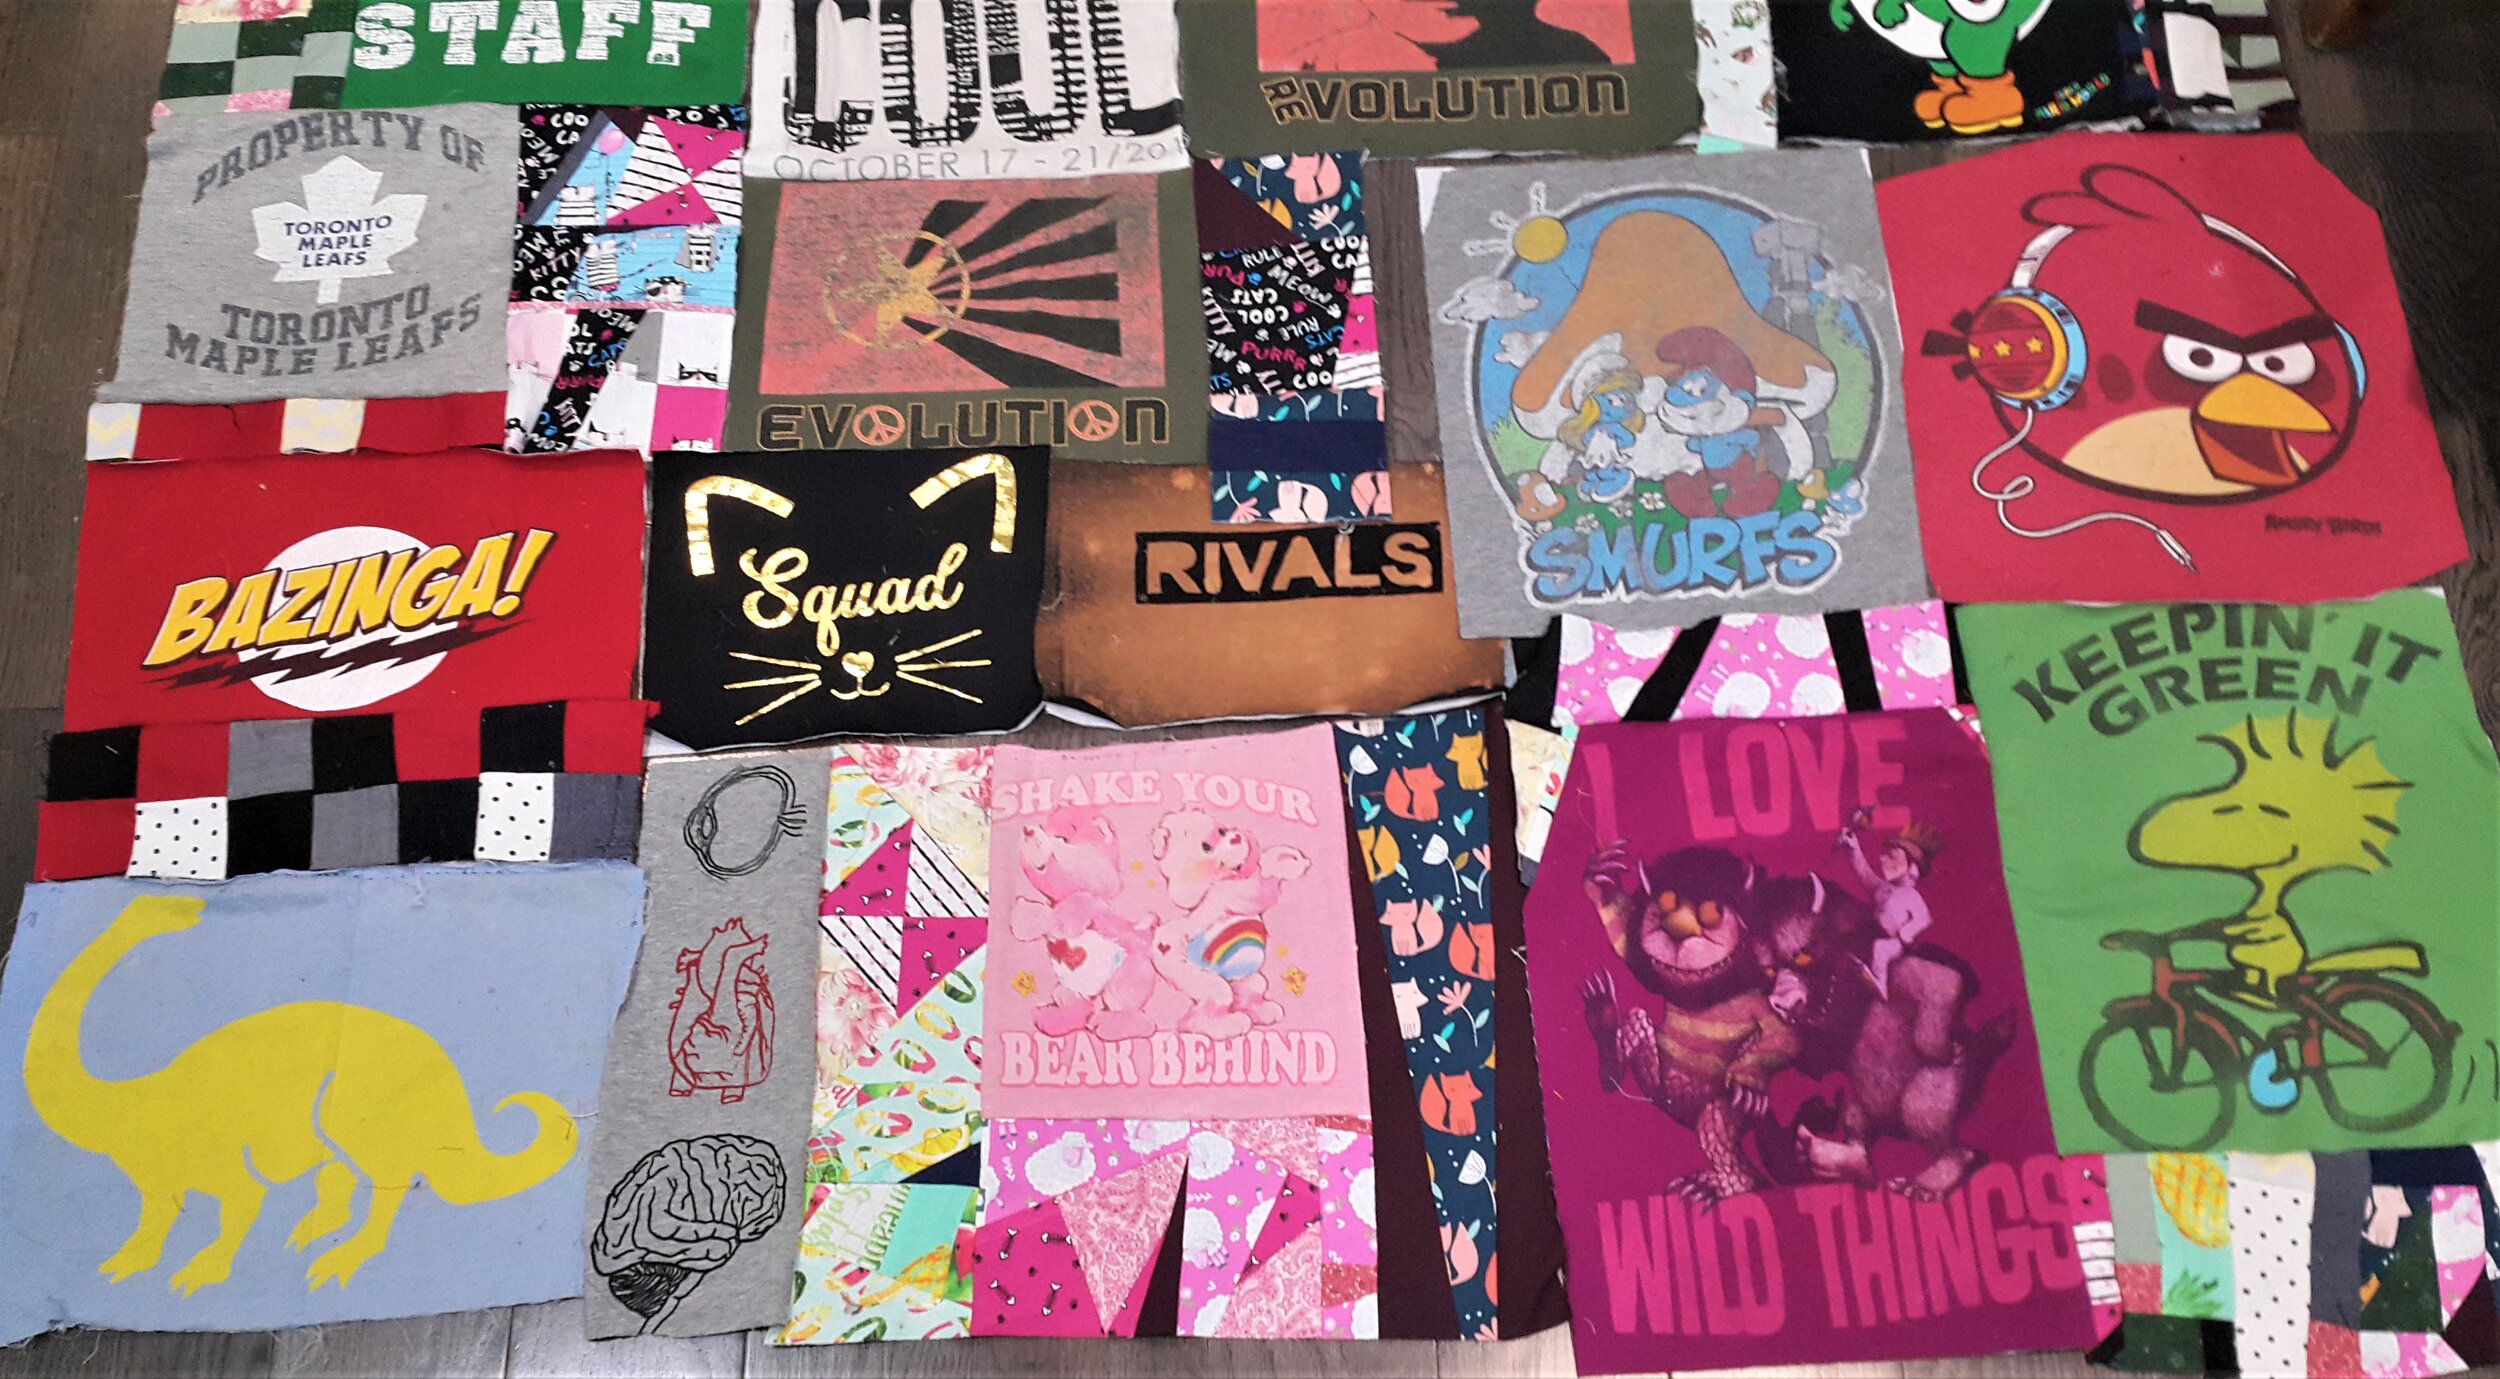
Design phase: Close-up of bottom section of the quilt

Design phase: Close-up of cultral characters featured in the bottom half of the quilt.
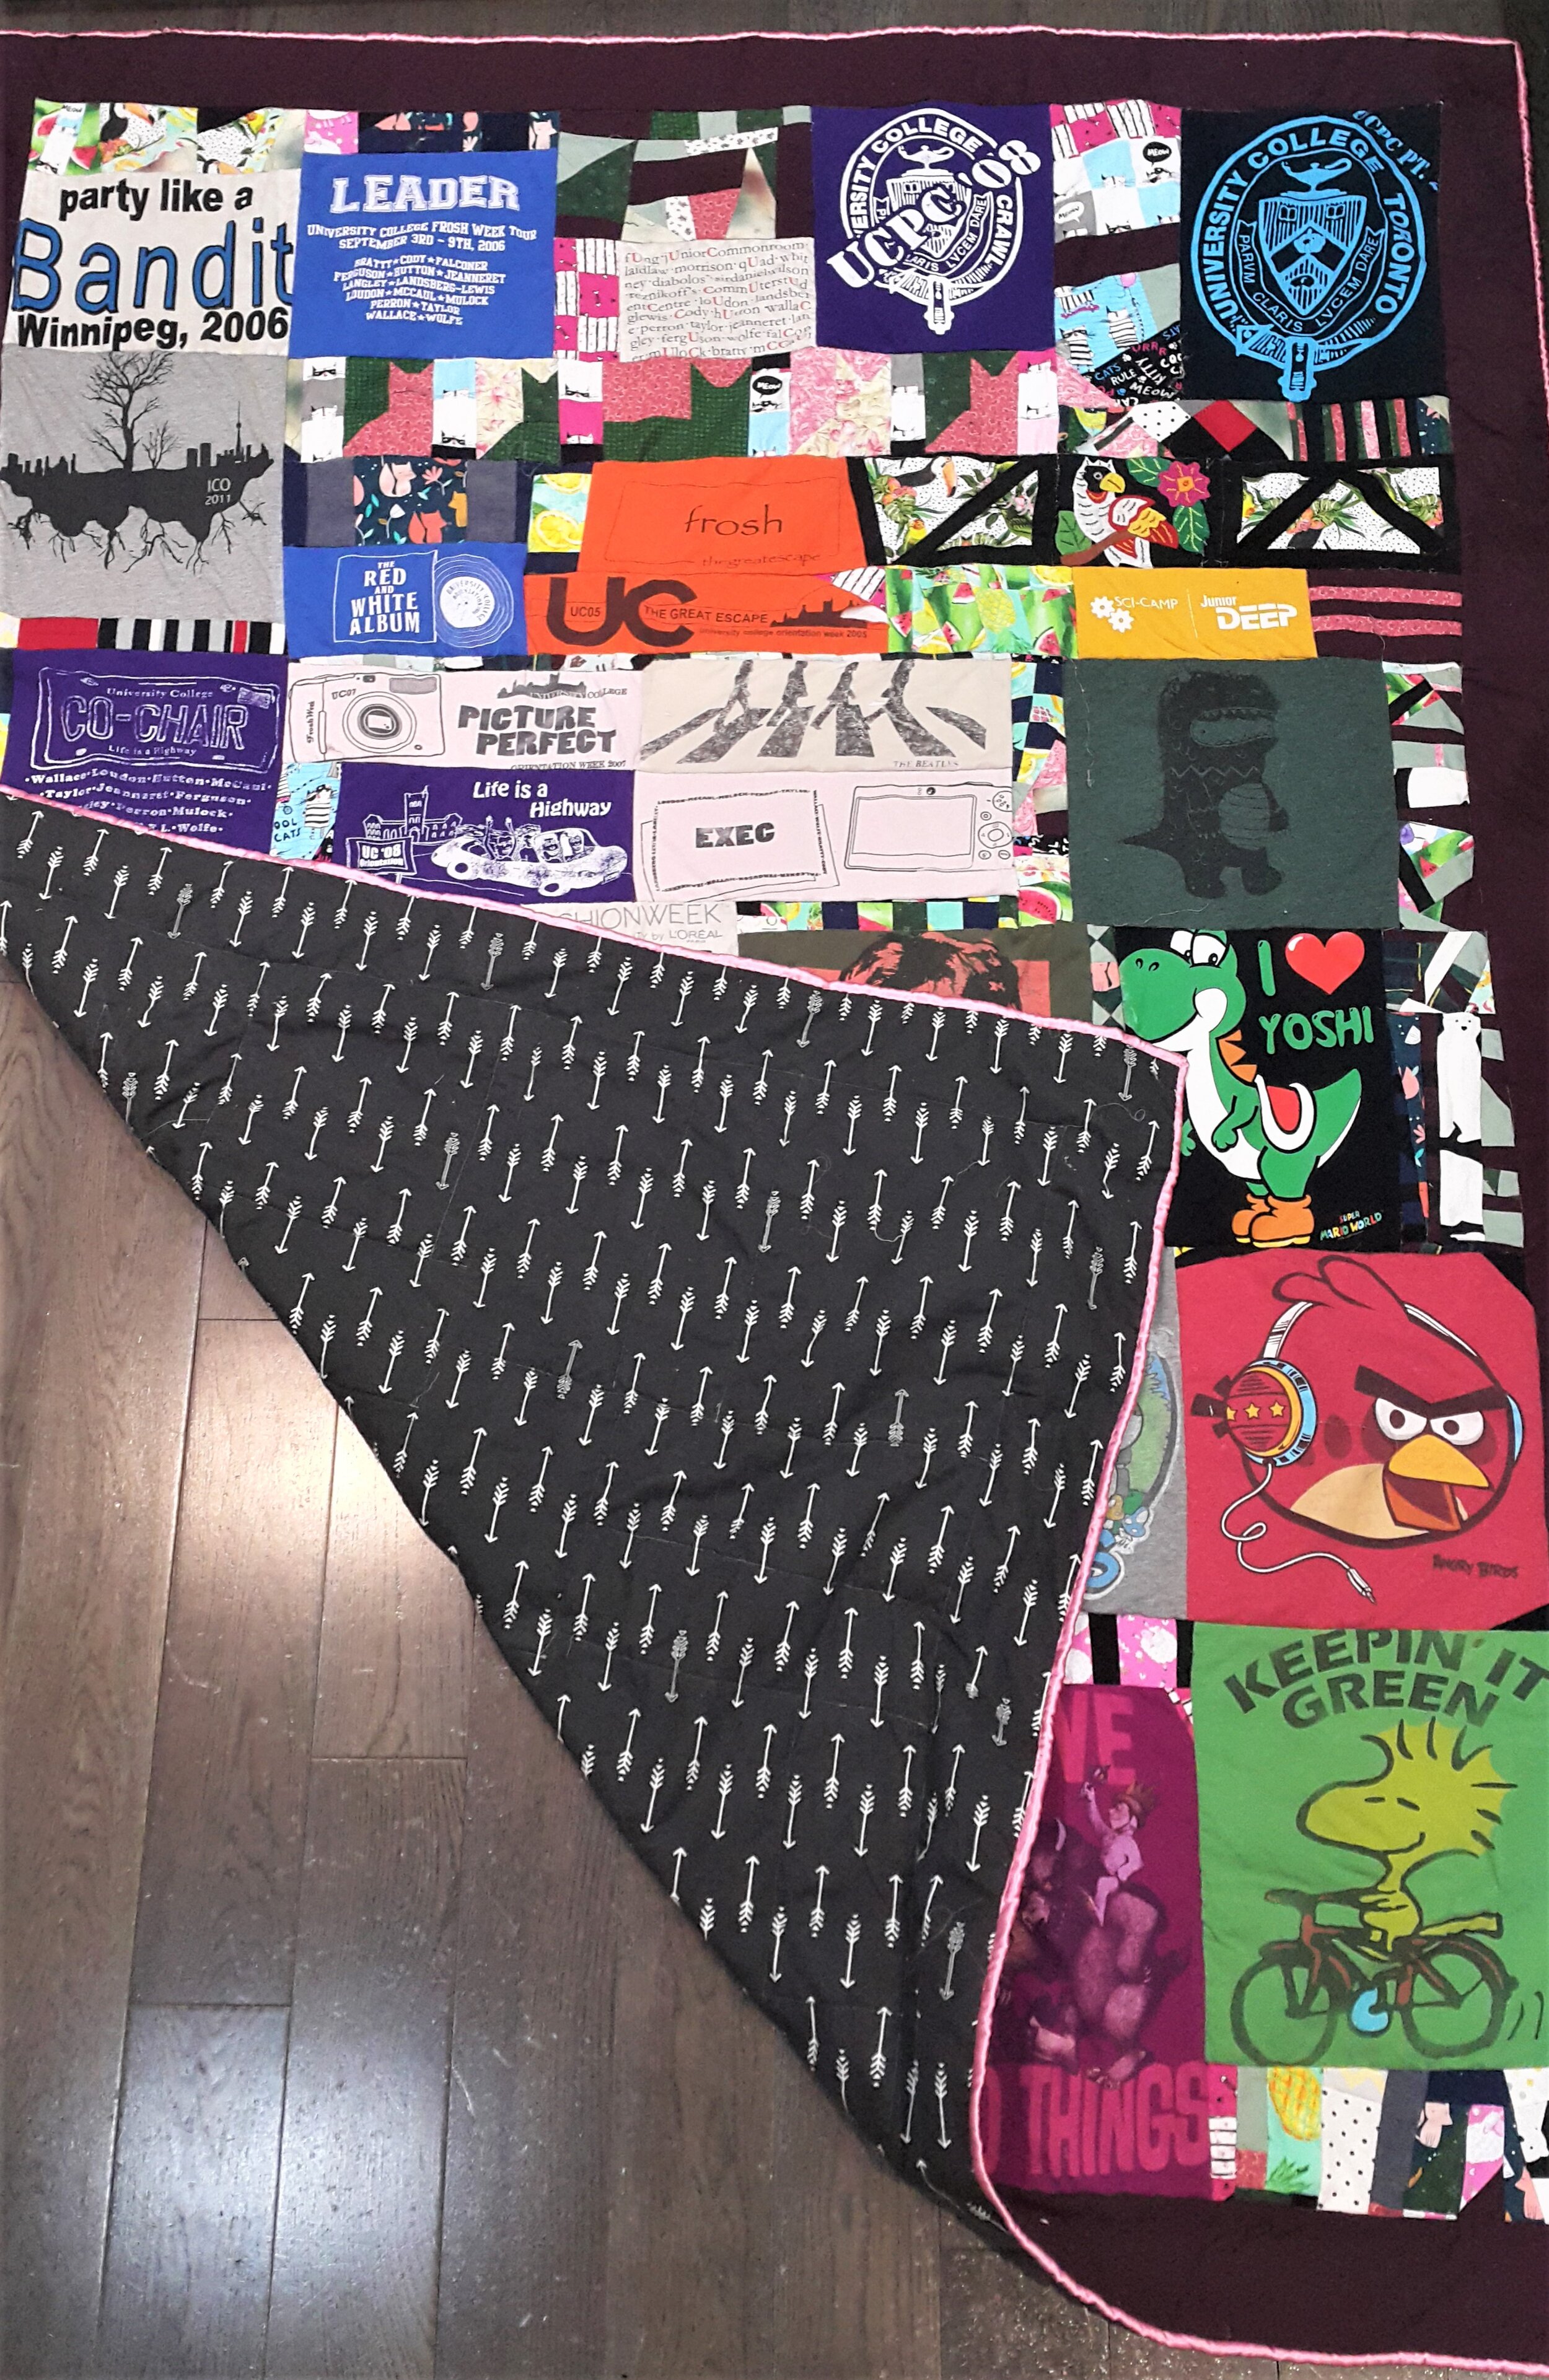
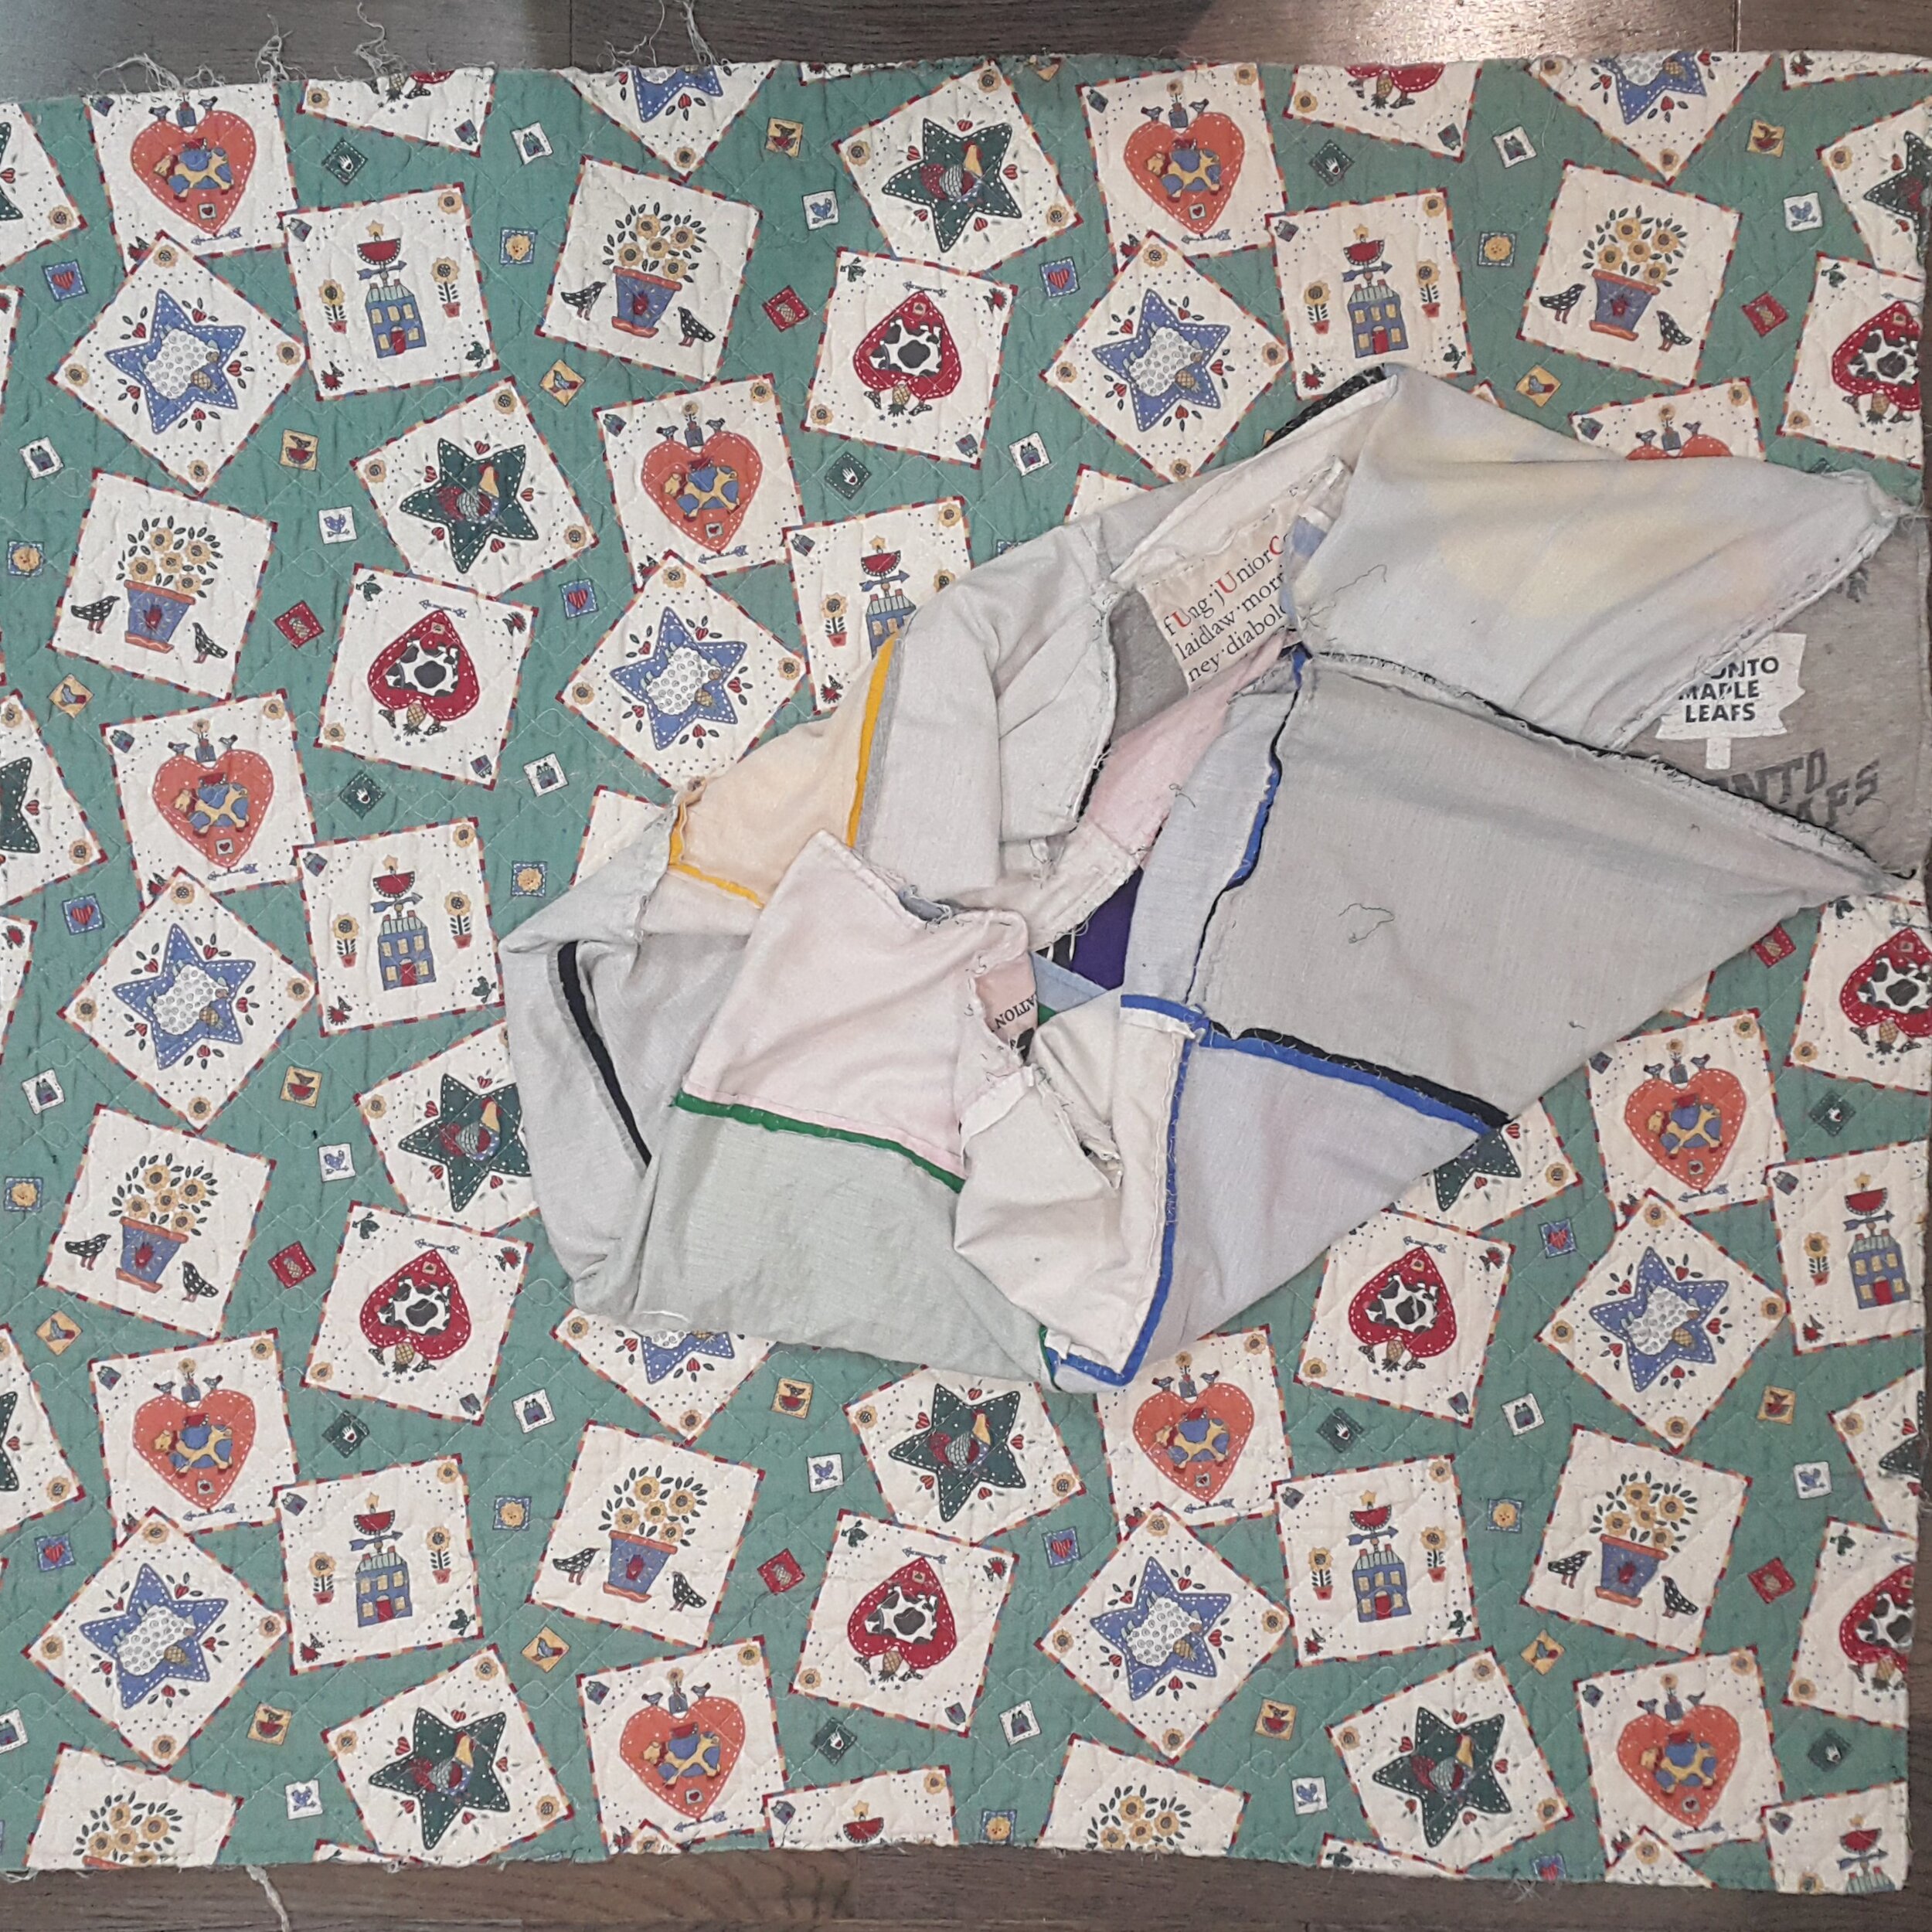
A view of the finished product showing the binding and backing fabric too.