T-Shirt Quilt #3
Started in February 2017. Completed September 2020.
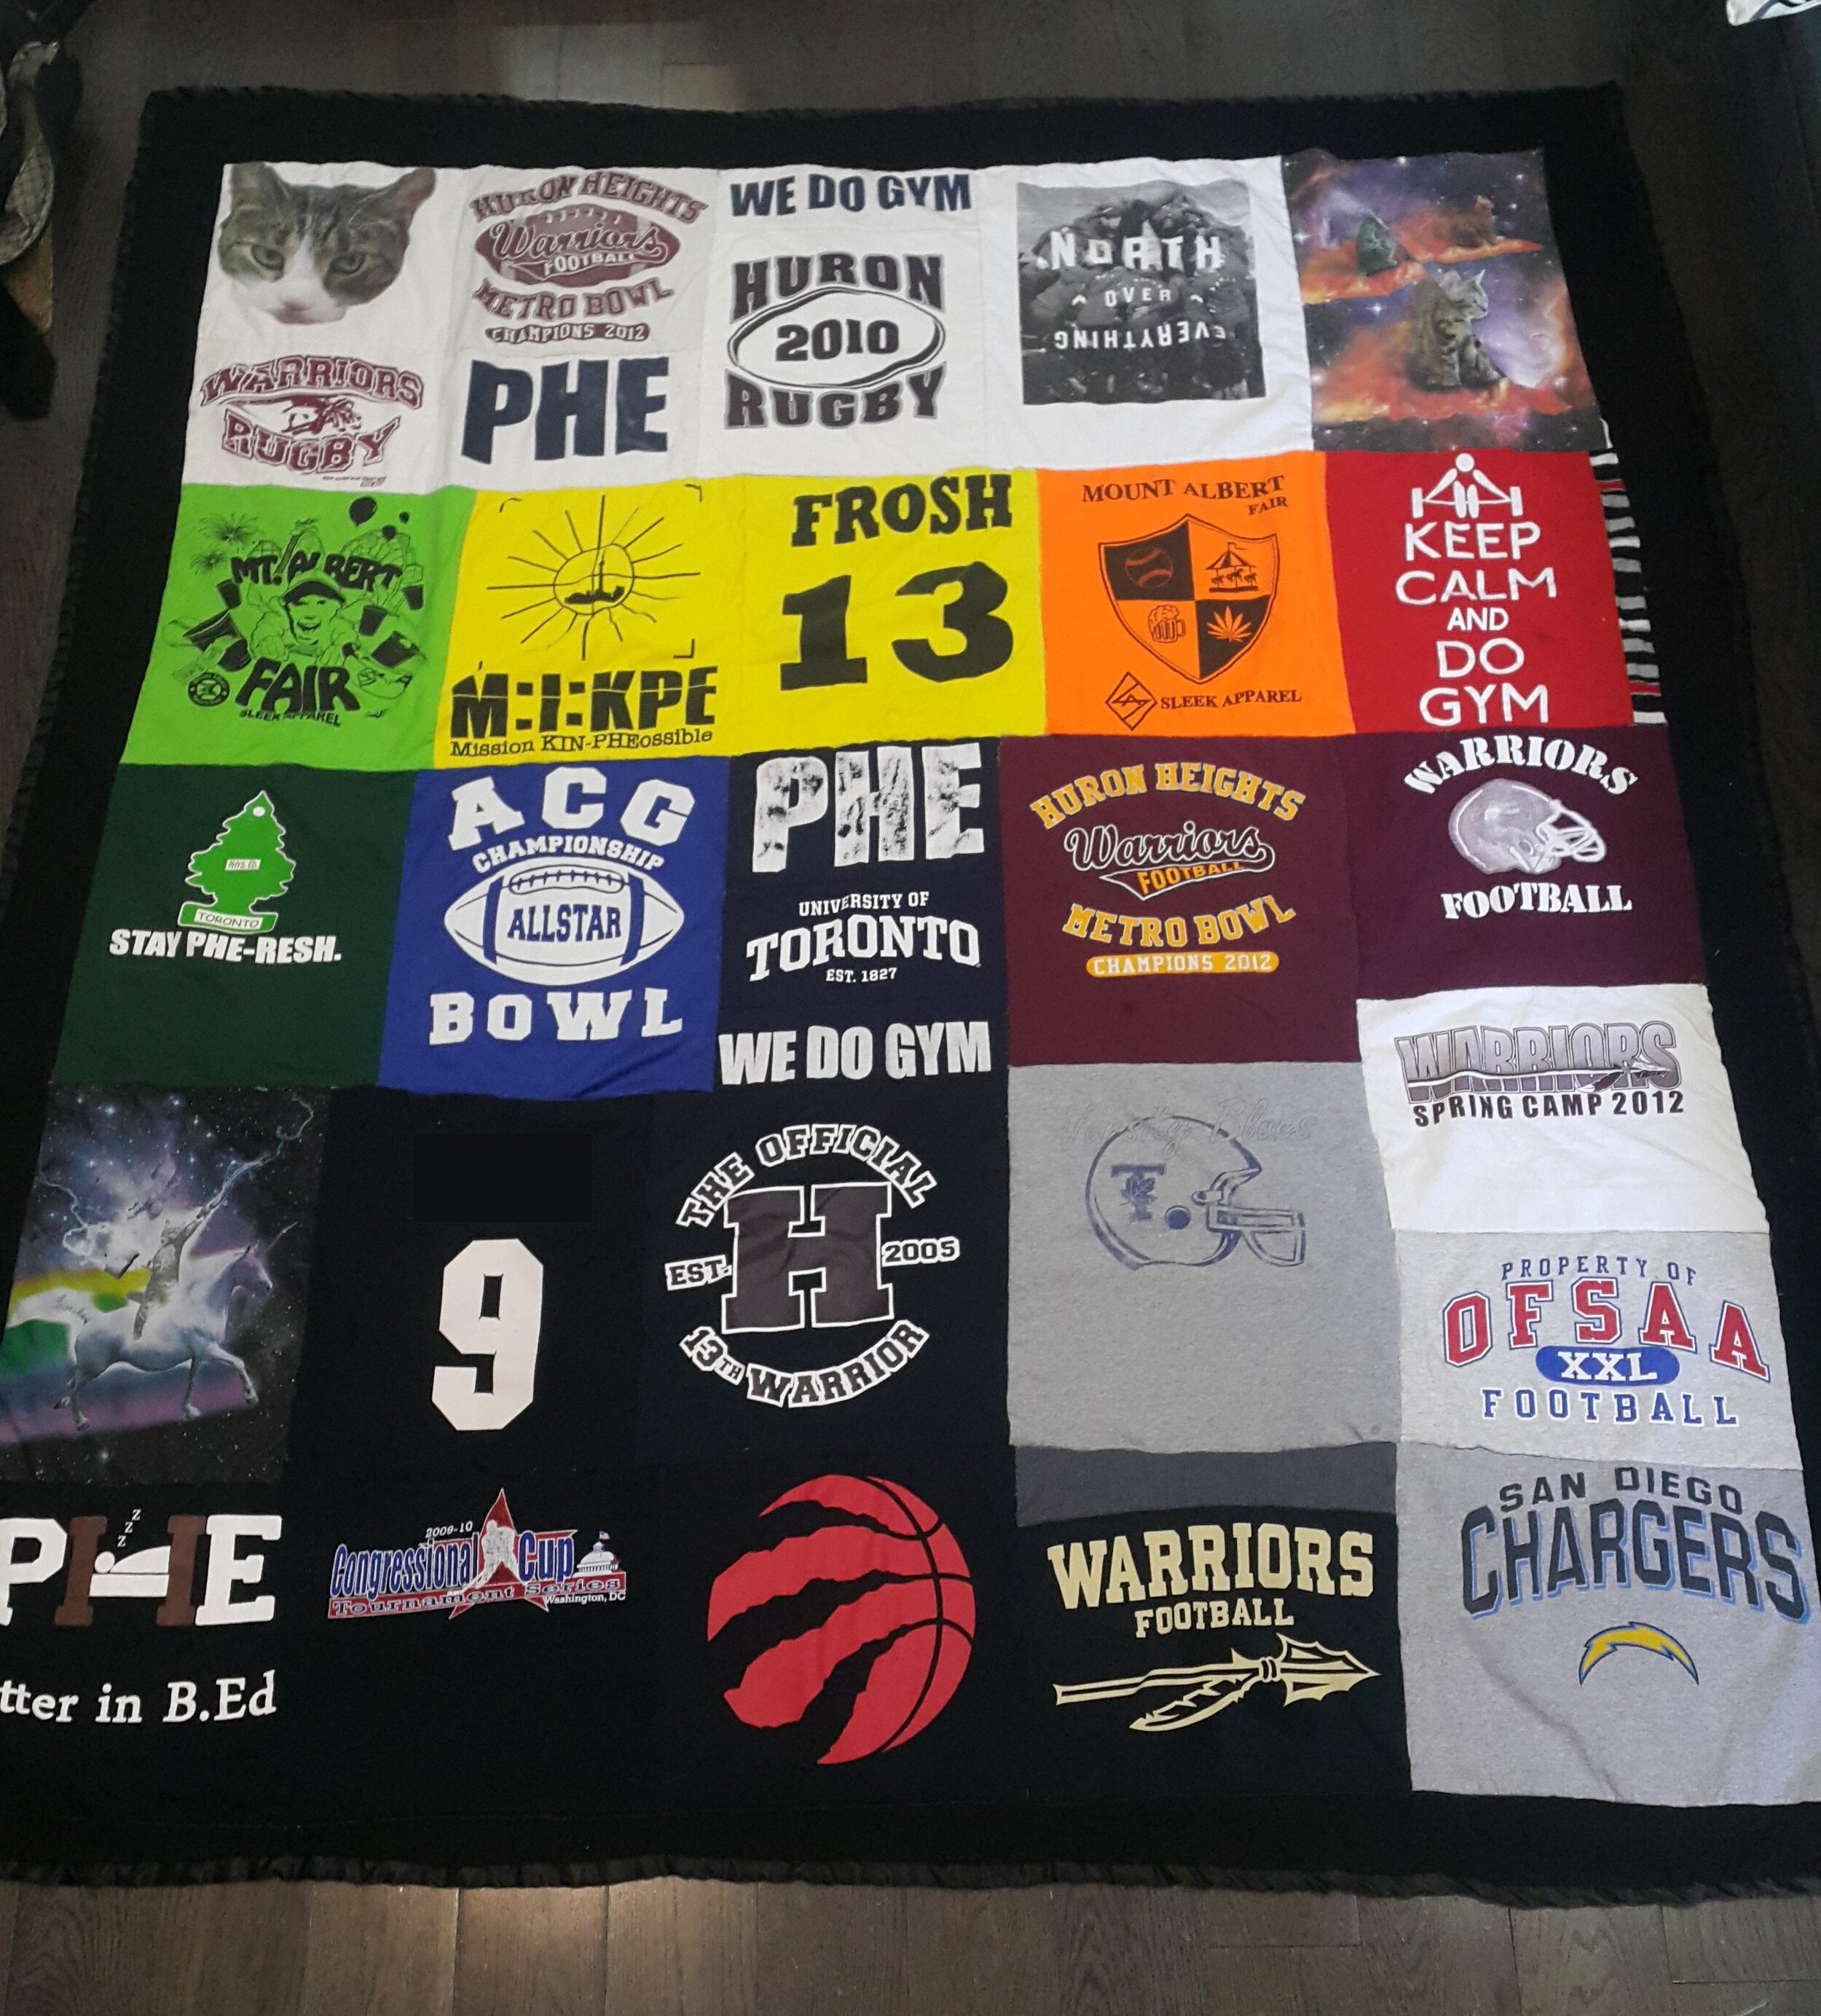
The layout of this quilt was guided by colour, rather than the content of each quilt square. Starting with white and transitioning to an ROYGBIV stripe in the middle.
This t-shirt quilt is for my brother. It is the fourth quilt I ever completed but the third quilt made from old t-shirts. I started this t-shirt quilt shortly after finishing my second t-shirt quilt. Applying lessons I had learned to both t-shirt quilt #1 and #3, I didn’t approach this step in an overly mathematical way. I instead cut out the logos of the t-shirts with ample space on all sides. Instead of designing the quilt top to be a rigid grid, I would stagger the quilt squares together like a puzzle, Approaching the design like a puzzle was a creative challenge.
I put T-Shirt Quilt #3 on hold in the Spring of 2017 to make a quilt for my best friend’s first baby. By June 2017, I made three quilts in 8 months and I was a bit burnt out. Combined with the creative challenge I was facing with the layout of this quilt face, I ended up putting the project away for over three years, finishing this quilt in September 2020.
In 2020, I found myself with a burst of sewing motivation I hadn’t experienced in a while. I knew that the first and only project I could pursue was this quilt. I looked at the t-shirt squares with new eyes. I saw no real chronology to the logos. There weren’t a lot of corresponding front and back squares so it was challenging to create a pattern. There were however vibrant colours across the spectrum and once I realized this, it was a matter of figuring out how to lay out the ROYGBIV colours among the majority of grey, black, and white squares.
I was pleased with the spacing of each square on the final product; plenty of negative space without any squished logos made possible with an easy going approach to cutting out the t-shirts. I used every last centimetre of flannel plaid fabric I had. An important lesson I learned from this quilt is that purchasing additional yardage of a pattern will allow you to match the patterns. Not wanting to introduce another fabric on the back, I had no choice but to line up two rows of grey and black checks, making a very obvious looking seam. It’s bound in a satin finish, which is a nice alternative to quilting cotton, adding another texture to the quilt. This is easily the biggest quilt and sewing project I’ve completed to date.

Quilt front made from old t-shirts

Flannel quilt back in a black and grey plaid
Lining each t-shirt face with a fusible, iron-on cotton interfacing.

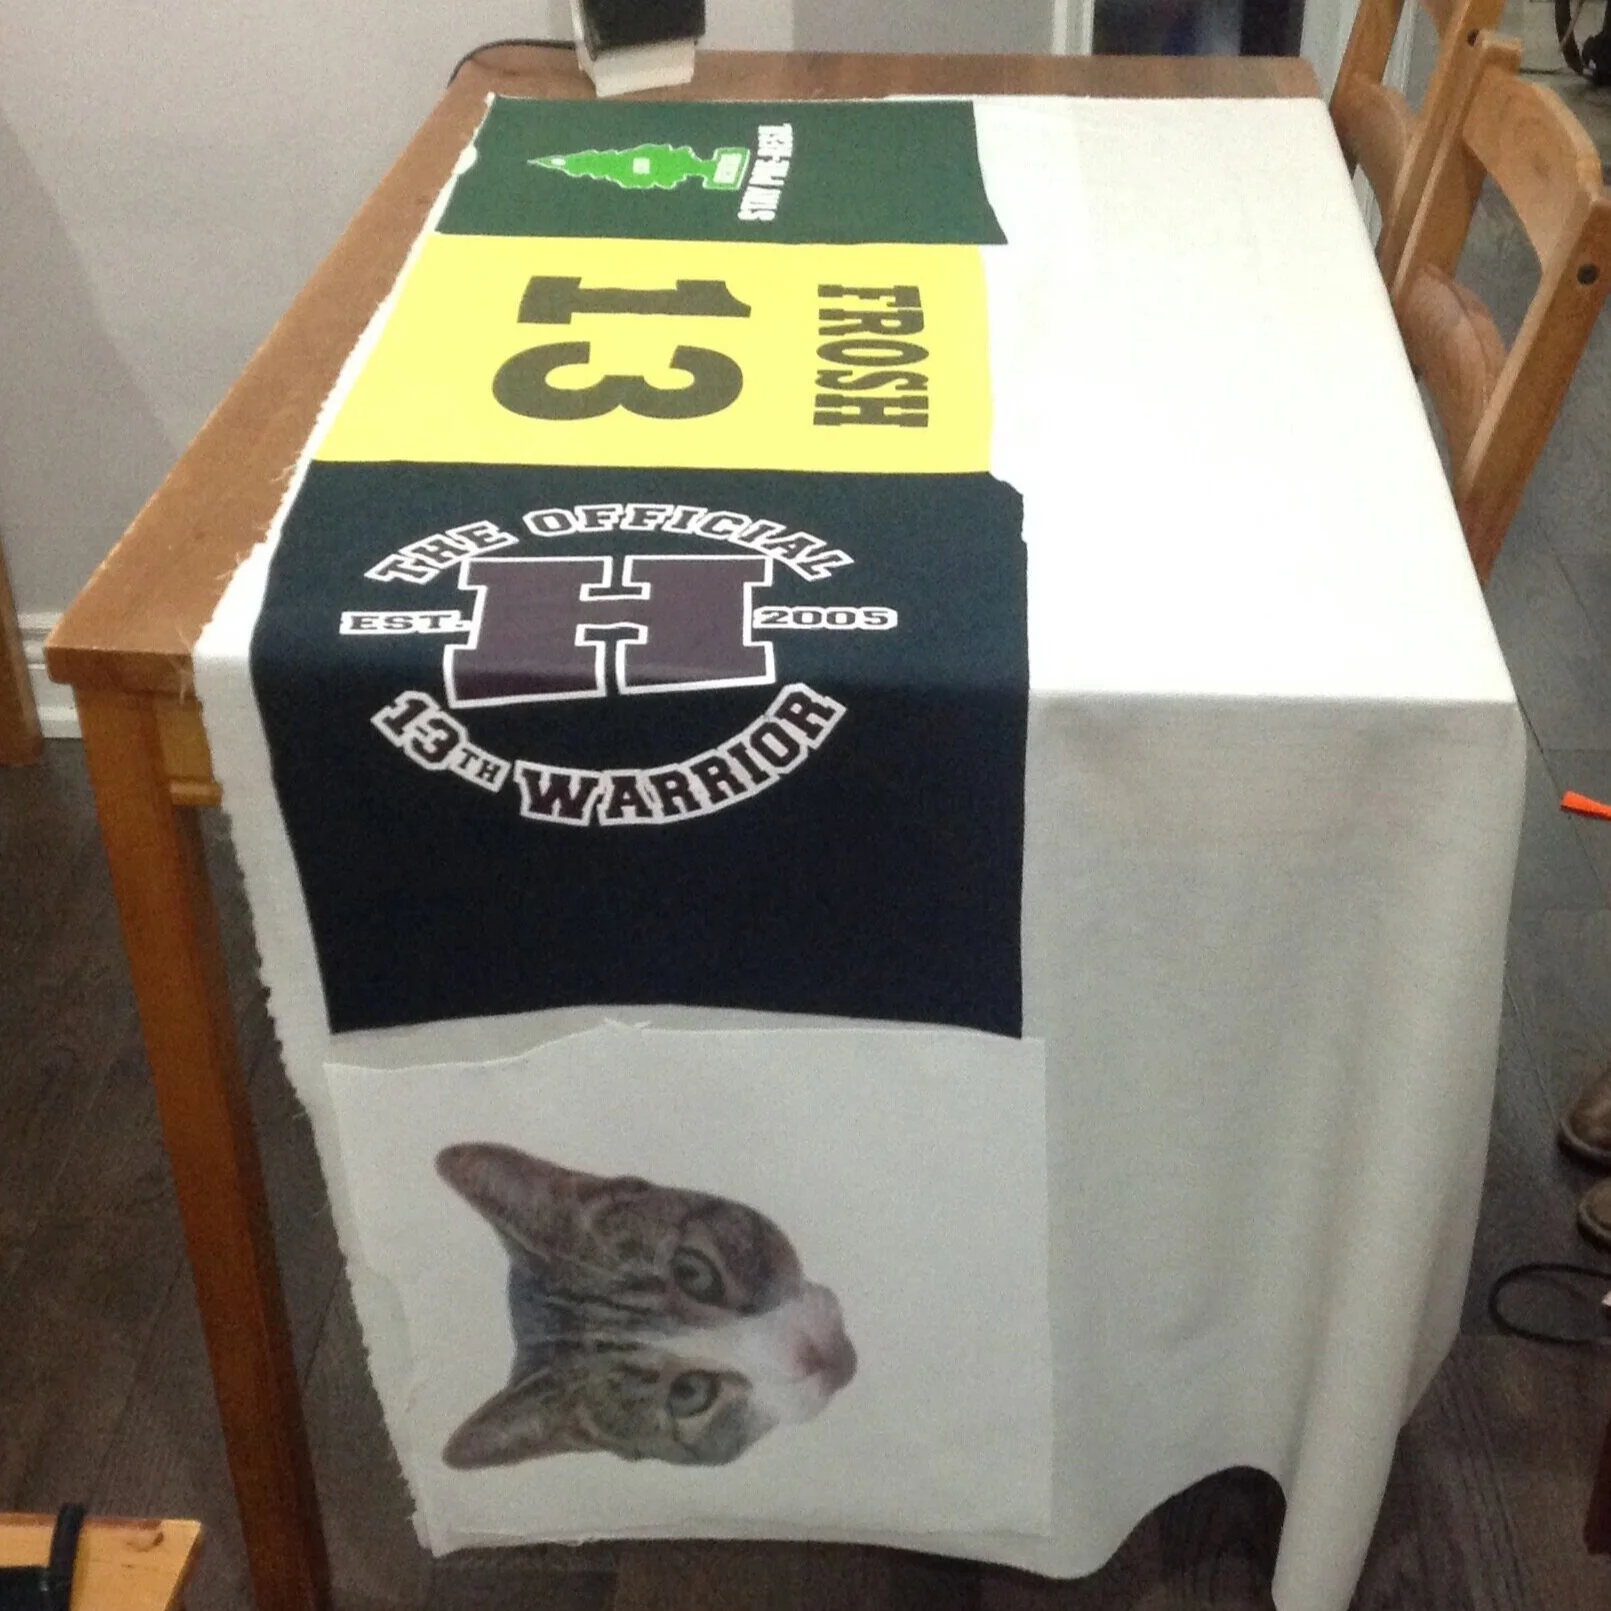
A quick photo I snapped of an old layout. The right corner of the quilt is different in the final version.

Obligatory cat photo. It’s impossible to lay out long lengths of fabric and not have Smokey Robinson roll all over them. I have learned that cat hair is an essential quilt making material.